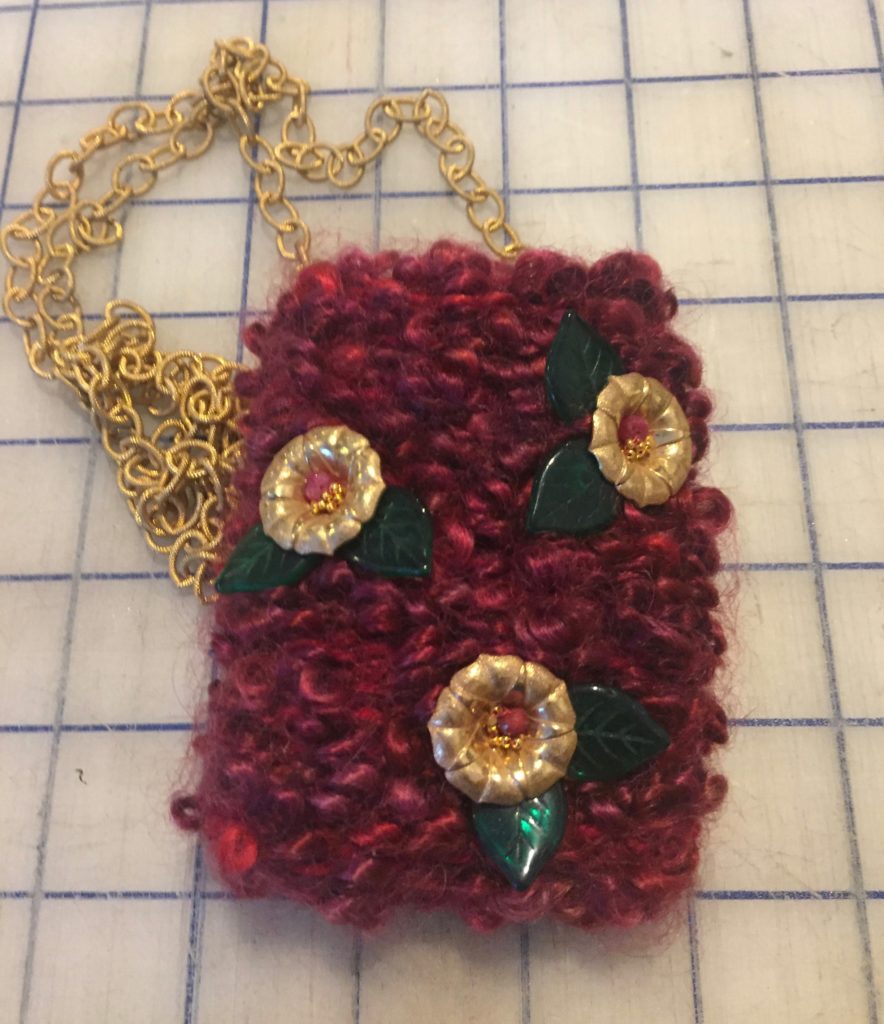
A hand-woven purse is a creative way to show off something that is both beautiful and practical to use.
Paula Rosen, weaving instructor at Drury University, demonstrated for The Scoop how to create a woven purse — a great accessory or handmade gift.
Materials needed
- A 3½-inch by six-inch piece of cardboard
- A variety of medium weight yarns
- A tapestry needle
- Beads and embellishments
- Flexible medium-weight beading wire
- Soldered jump rings
- Crimp tubes of beads
- Crimp pliers
- Wire cutter
- Ruler
- Tape
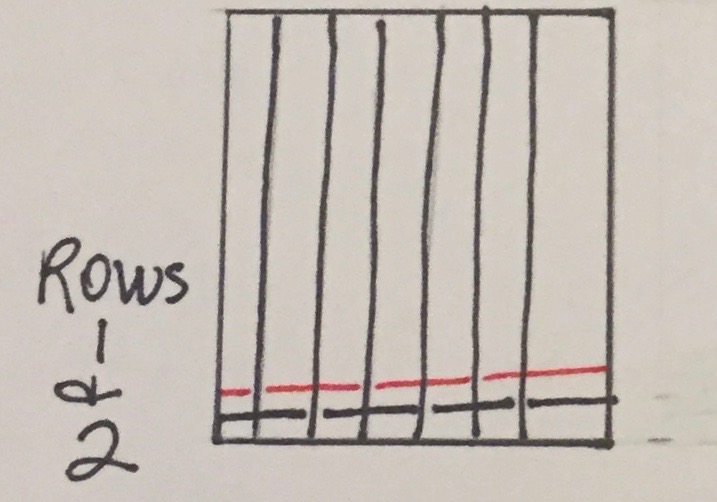
Step 1: Measure
Measure one-eighth of an inch from the top of the cardboard and one-eighth of an inch across. Cut across the top where the marks are. In addition, measure one-eighth of an inch in on each side at the bottom and cut two, one-eighth inch marks towards the top of the cardboard. Now the cardboard is a loom.
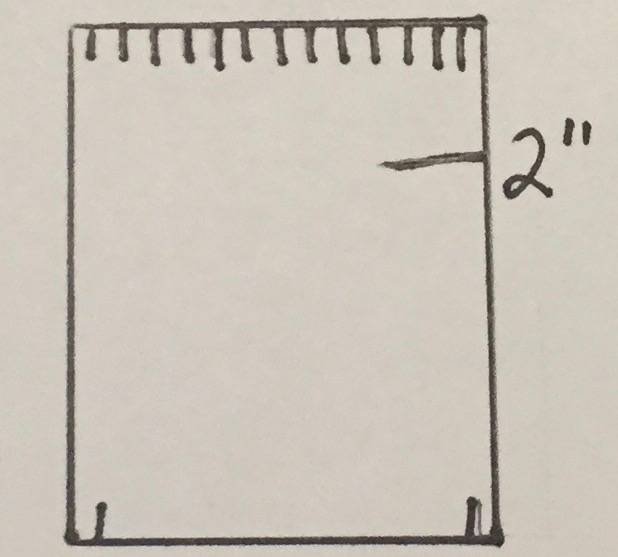
This illustration shows that the lines across the top and the two line on the bottom show where to cut the cardboard.
Step 2: Add yarn
The notches made at the top are where the warp, or vertical-running yarn, will be held. Secure the warp yarn to the loom with tape and pull the yarn through the first notch on the left, leaving the yarn hanging from the other side of the loom
Step 3: Wrap the yarn
Pull the yarn through the bottom-left notch of the loom and bring the yarn back to the top.
“Pass it through the second notch from the left at the top of the loom,” Rosen says. “Keep the yarn taut as you wrap it.” Continue to wrap the yarn around the loom through the top notches while wrapping it around the bottom. After passing the yarn through the last notch at the bottom, tape the loose thread to the cardboard
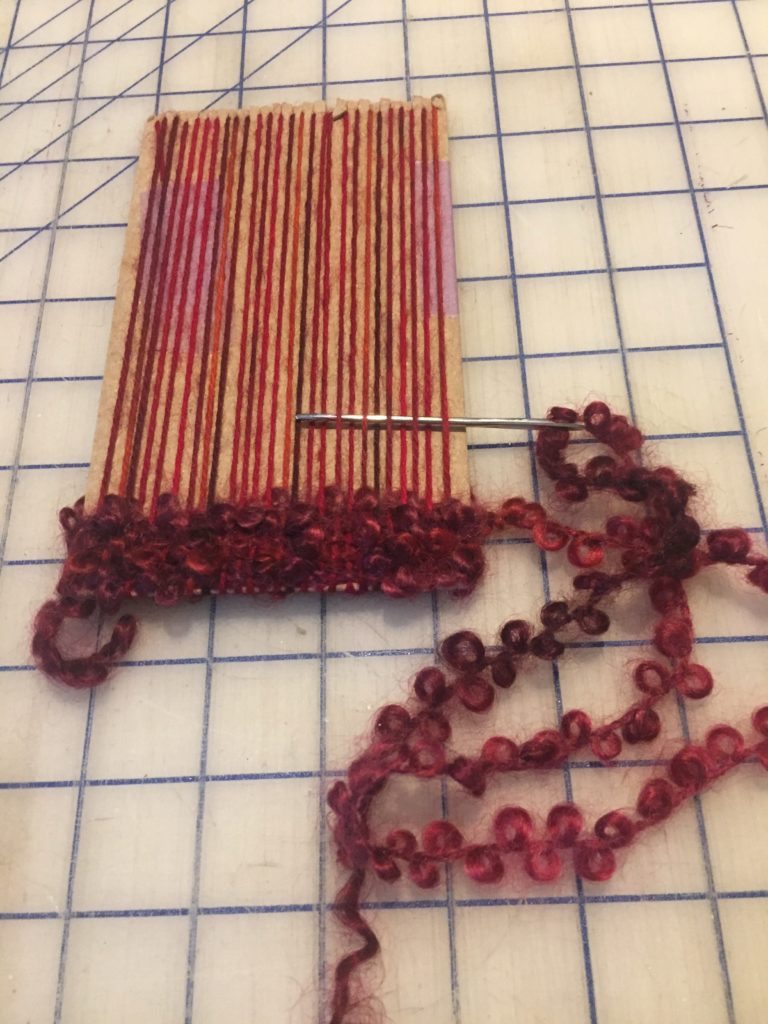
Step 4: Weave
Thread yarn through a needle to begin weaving the horizontal-running yarn. Weave by going over the first thread and under the next, repeating the motion until finished.
Start at the bottom of the loom, and after weaving the first horizontal row on the front, flip the loom over to continue weaving on the back. After finishing a row on the back of the loom, return to the front and continue to weave until complete. “Use the needle, your fingers, a fork, or a wide-tooth comb to pack down the weft [horizontal] threads to create a tight weave.”
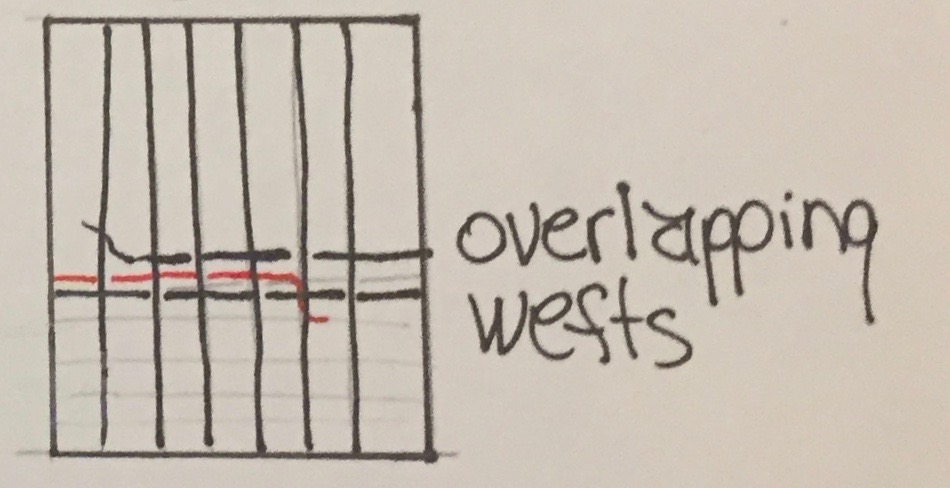
If a piece of yarn ends, leave the tail poking out, overlap a new piece of yarn, and continue the same pattern.
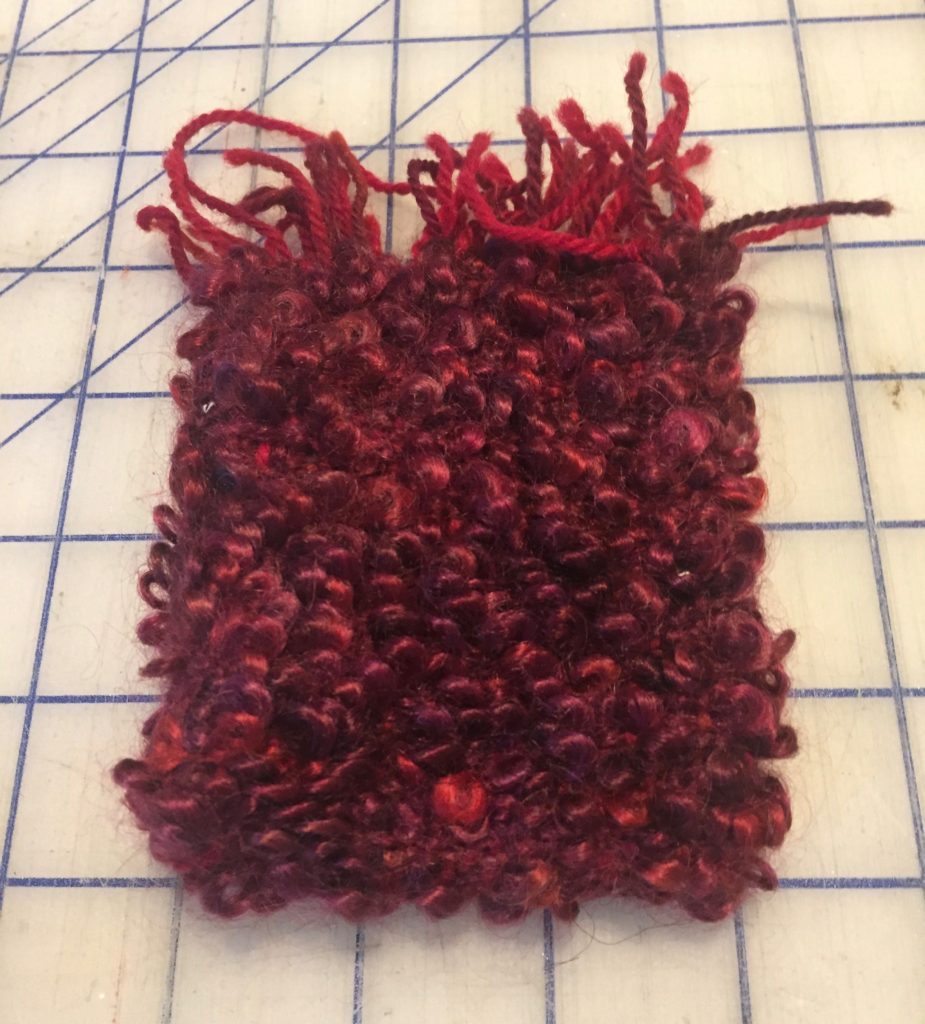
Step 5: Cut threads
Stop weaving about two inches from the top of the cardboard. Rosen says, “Carefully cut the warp threads at the top of the loom two at a time and tie them together with overhand or square knots.” Cut and tie the threads that are next to each other to keep the weaving secure. Turn the purse inside out after tying the knots.
Step 6: Trim threads
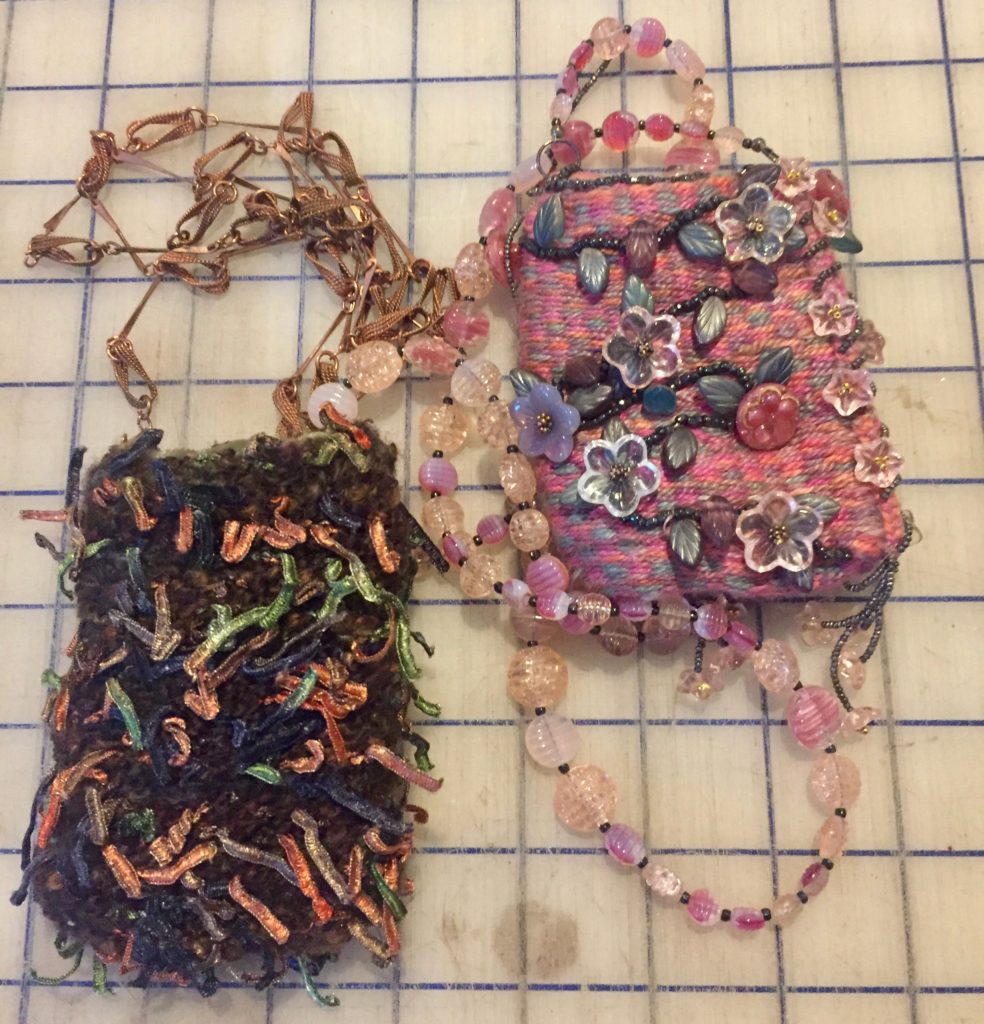
To get rid of the warp threads that are sticking out, simply tuck them inside the bag, use them as fringe, or tack them down with a needle and thread. Rosen encourages people to “embellish the bags with buttons, beads, charms, or whatever you like.”
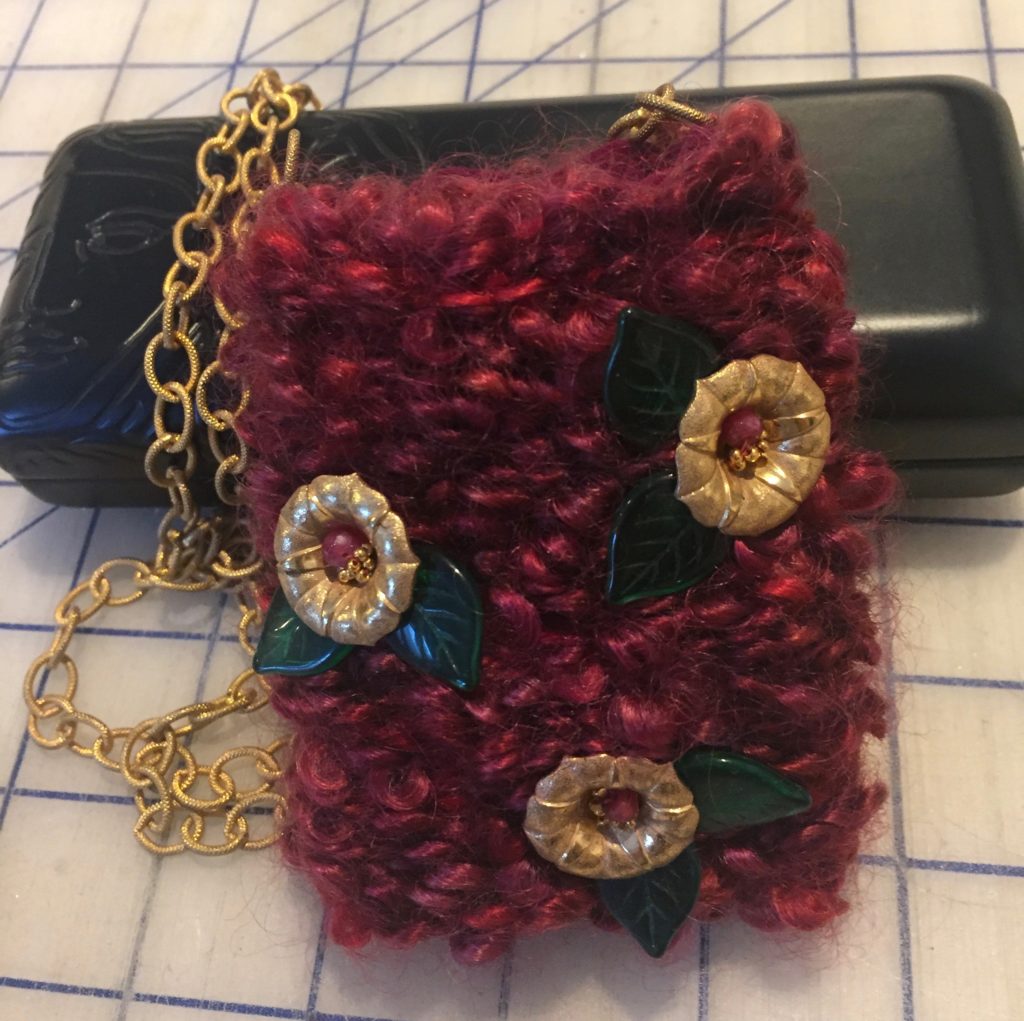
Step 7: Decorate
Use a needle and thread to secure soldered jump rings to the top corners of the bag.
“Starting with one of the soldered rings, pass the end of the beading wire through the ring and secure it with a crimp tube or bead,” Rosen says. To add more personality to the bag, string beads over the beading wire until it is at a desired length. Finally, pass the other end through the other solder ring and secure it to complete the purse.