
Bookbinding may seem like a near-impossible task, but really it is very simple and quick. In less than 30 minutes you can be writing in your own hand-stitched books. All you need is some paper, a needle, and waxed thread. The Scoop sat down with Taylor Stanton, an avid book-binder and Drury University student, so she could show us how to perfectly Saddle Stitch our very own books.
1. Punch Holes Along the Crease of the Paper
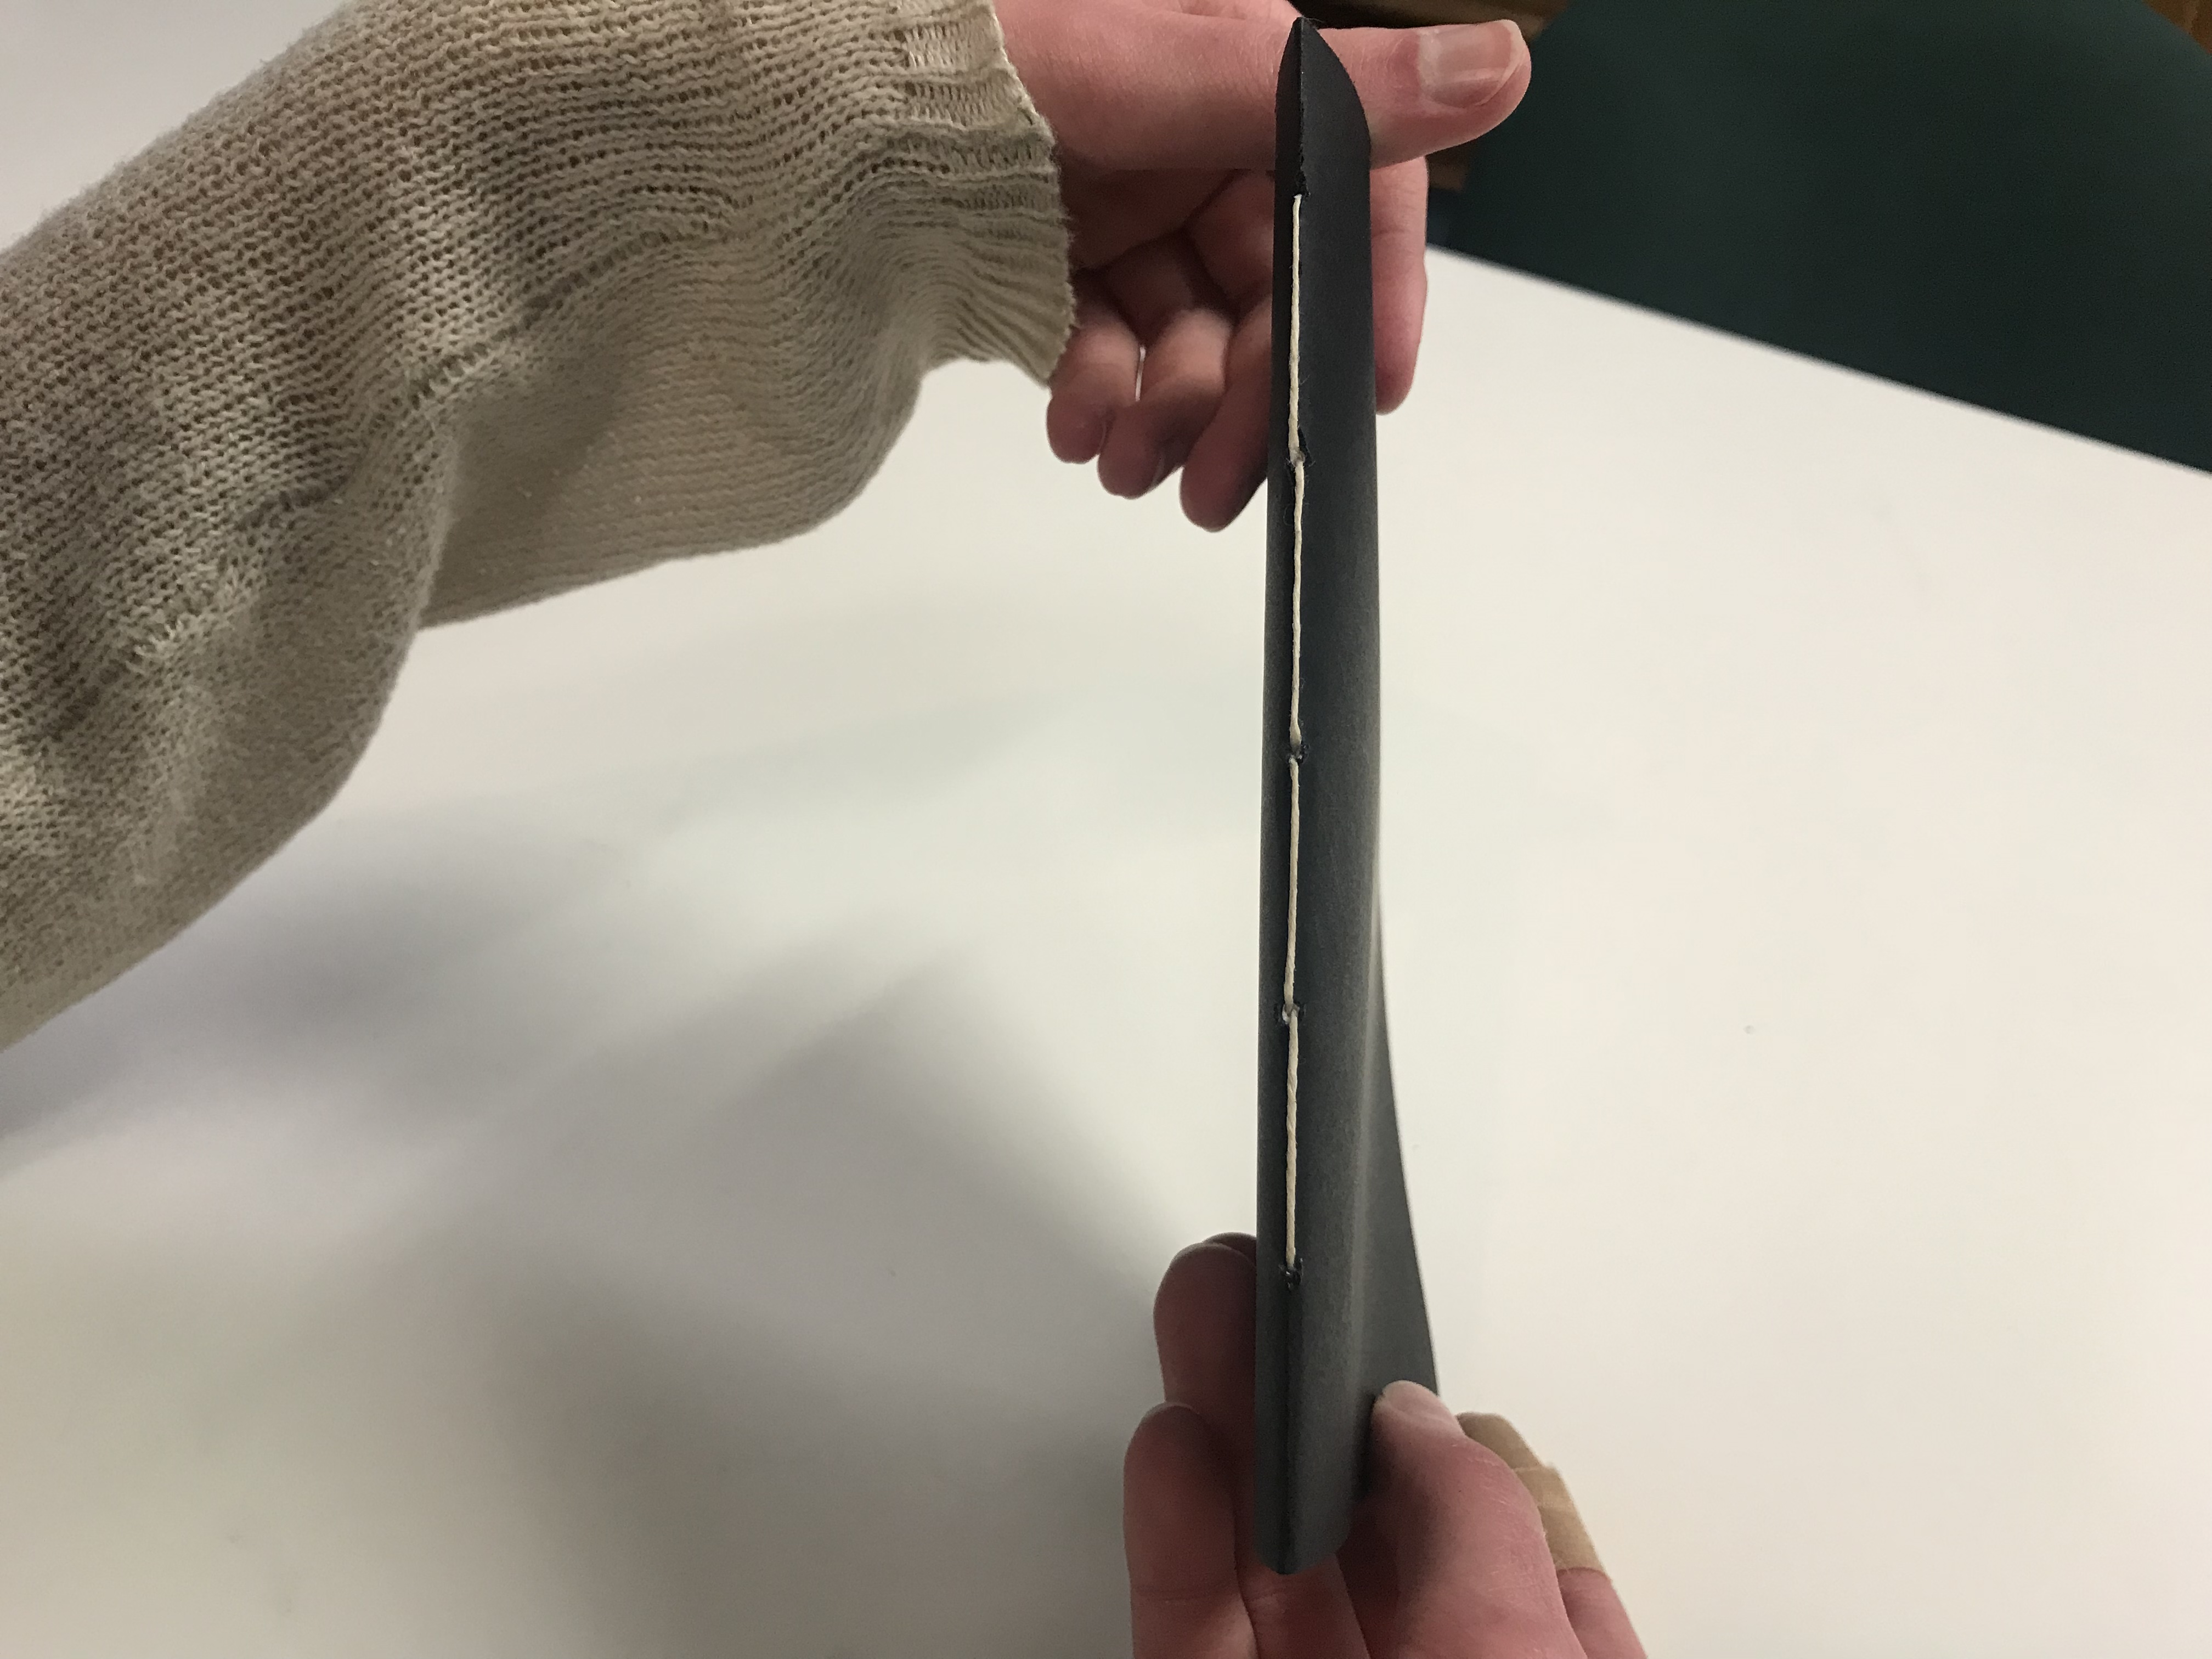
First, fold your papers in half. “You want to poke holes in the crease of the paper,” says Stanton. “These will be the holes that you run your needle through. In this case we poked five holes but you could also do just three depending on the size of your book. Try to make them even spacing but make sure there is a hole in the middle. You want to always poke an odd number.”
You can do this in groups of pages or all at once, depending on how many papers you have. Then, lay the papers together so all the holes align.
2. Pull the Needle and Thread Through the Center Hole
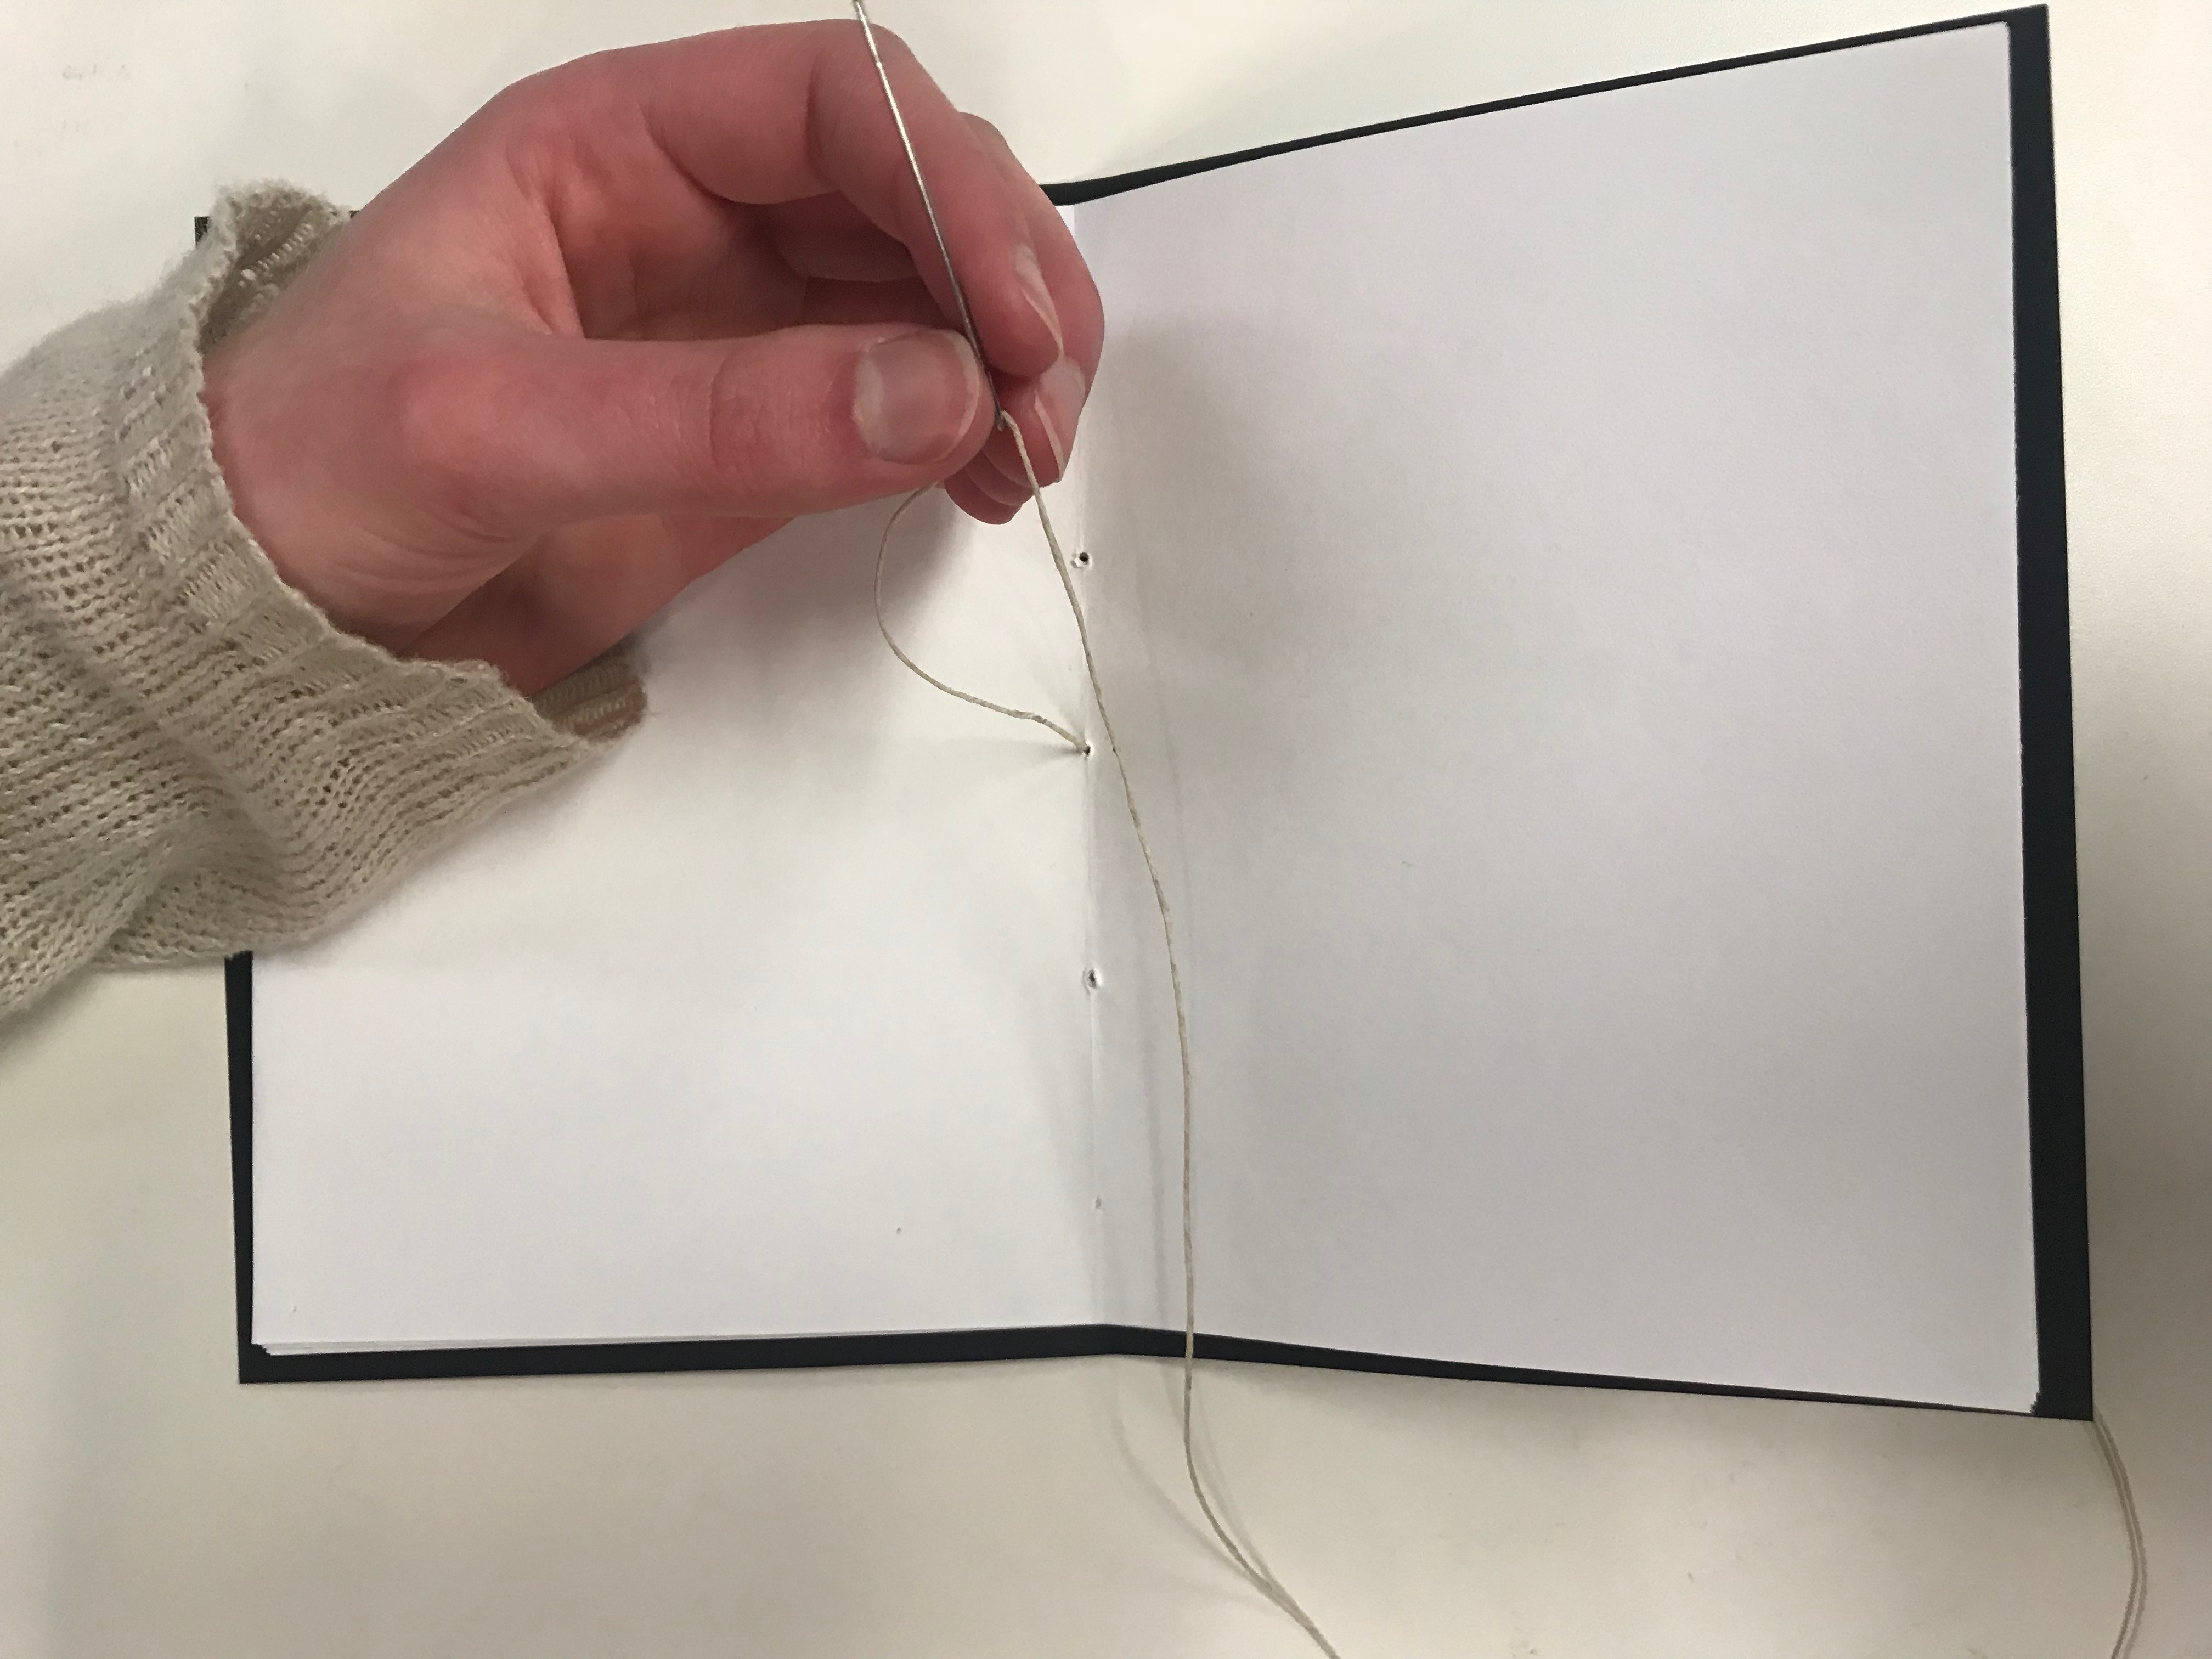
“Thread your needle and going through the center hole on the outside, pull towards the inside” says Stanton.
Be sure to keep a couple of inches left on the outside; you will need it for later.
3. Thread Inside and Outside
Next, Stanton says, “You can go whichever direction you want, up or down from the center hole. I am going to go through the next hole up from the center. We are going to weave the thread back to the outside. Pull tight so the string is not loose in-between holes. Then from the outside, we will go to the outermost hole towards the top and thread the needle back towards the inside. From there we will work our way back outside using the first hole we came in from the inside.”

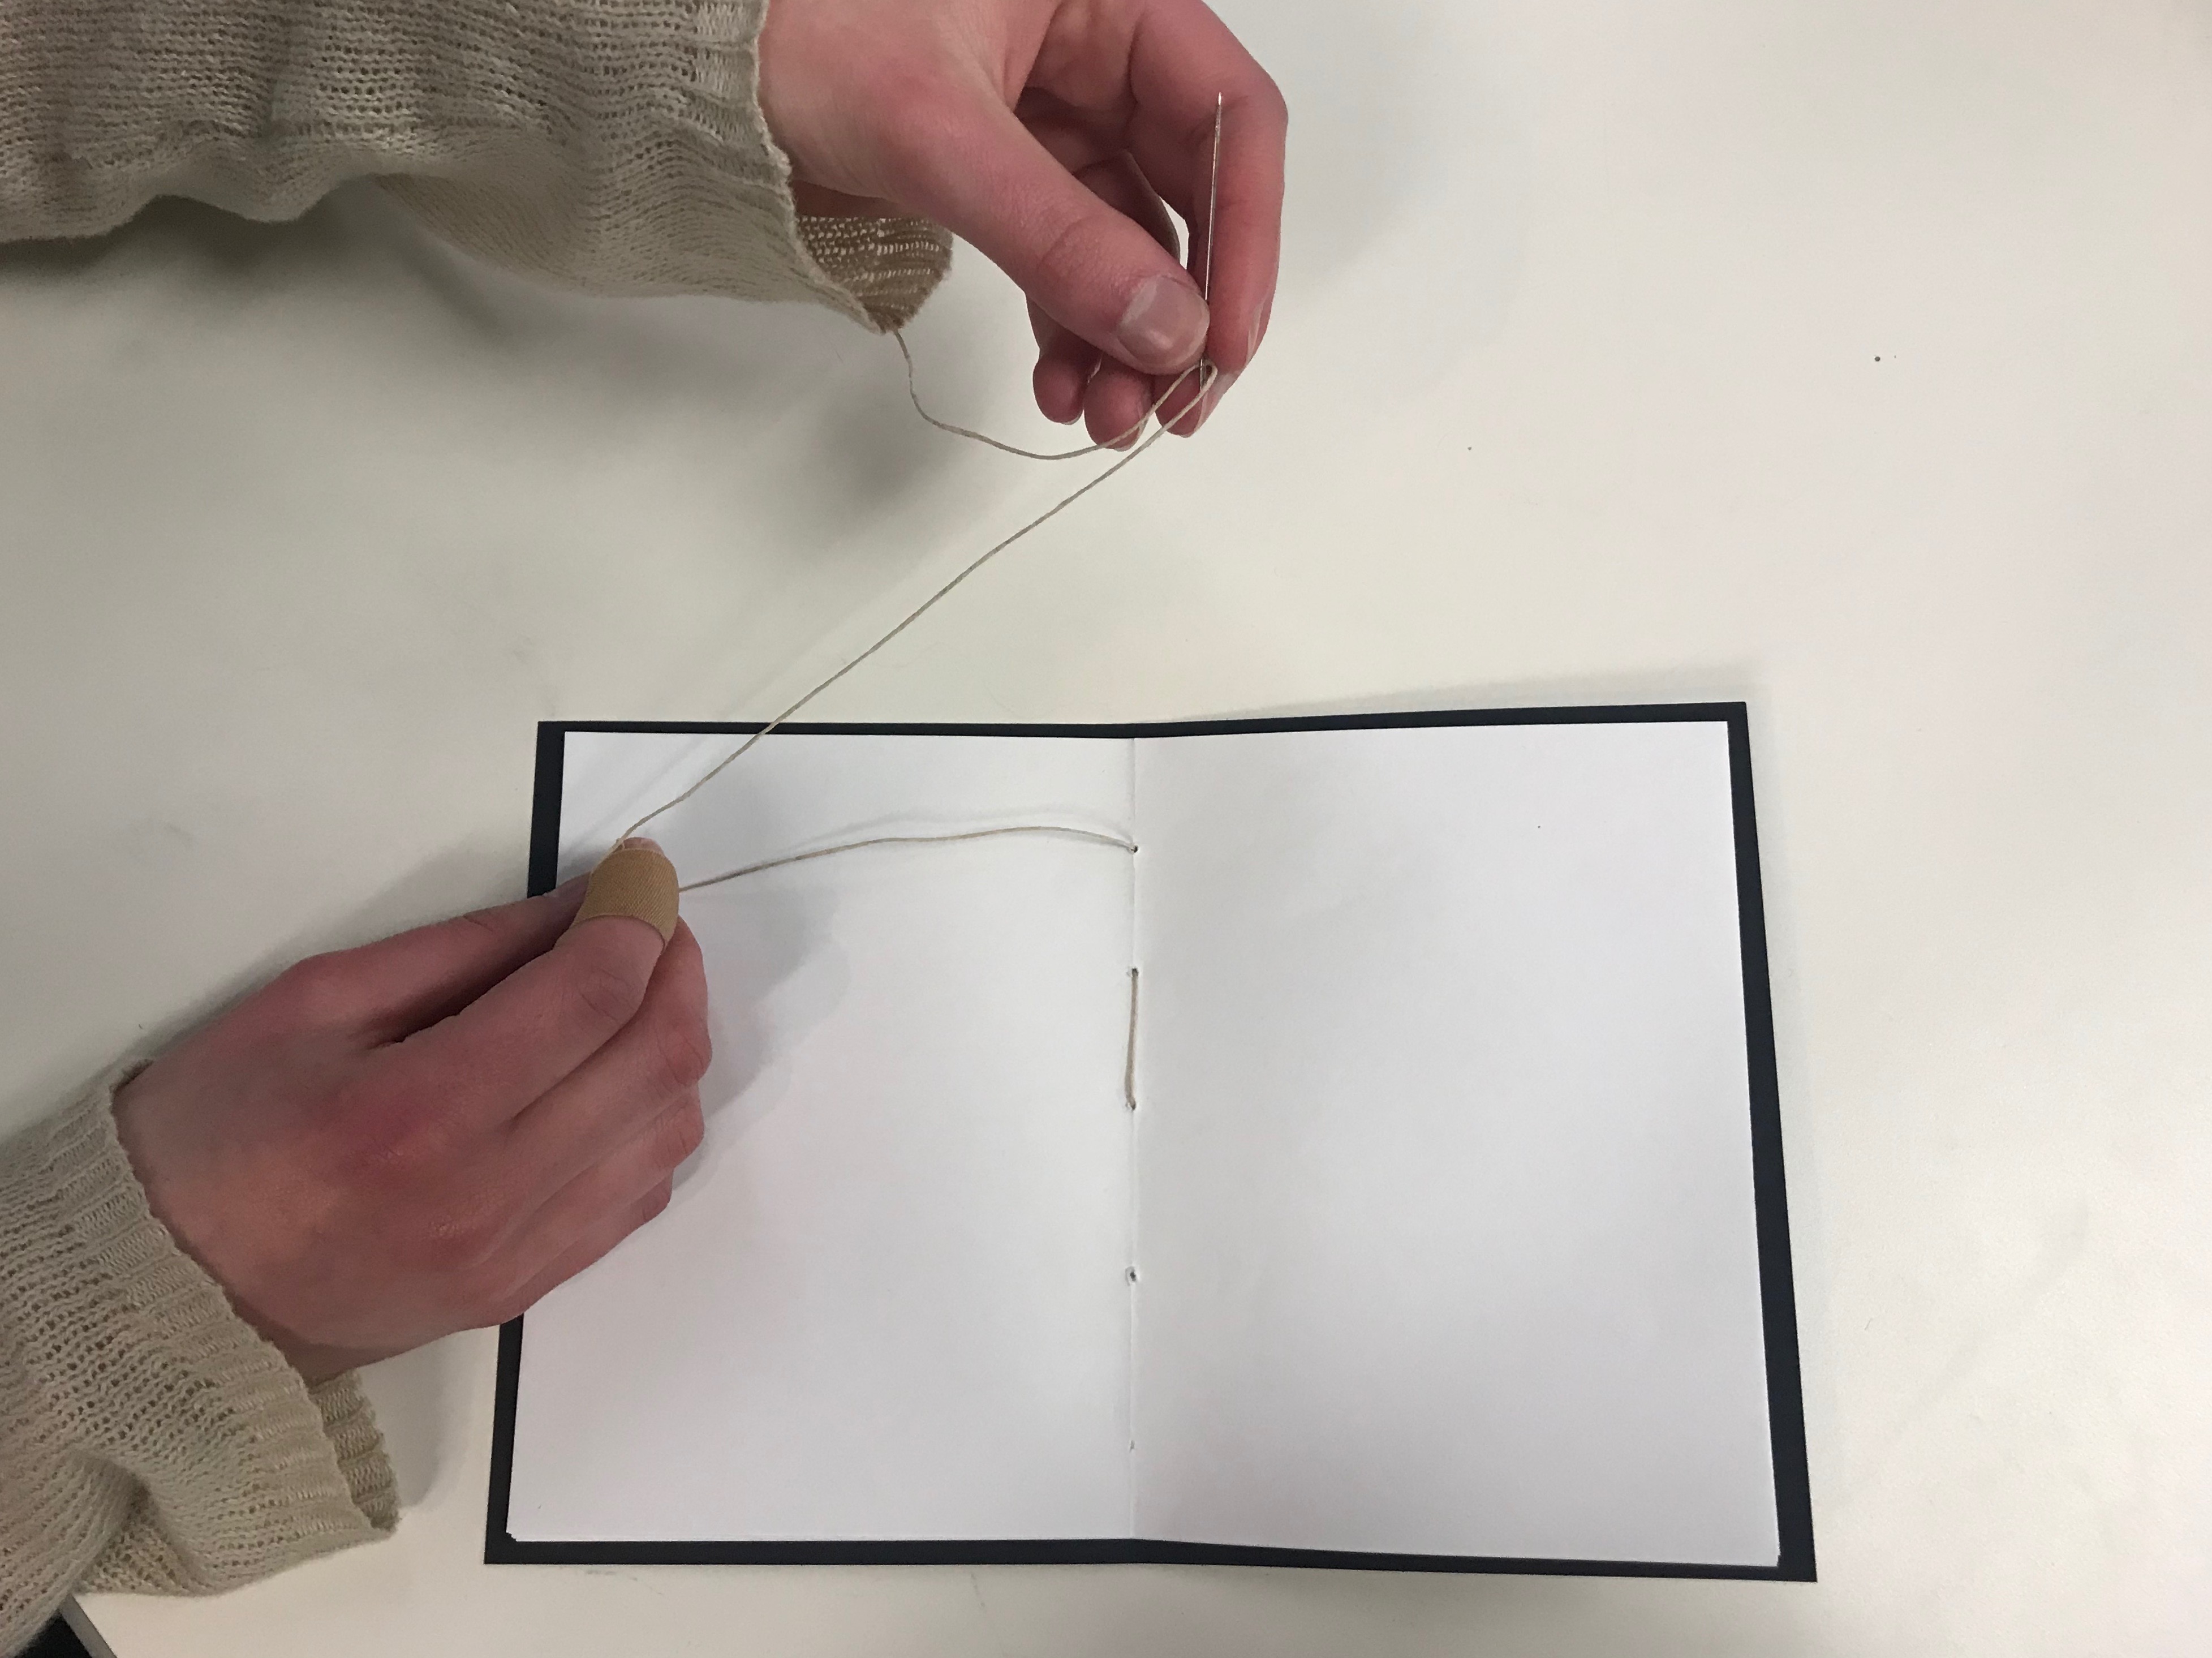
Finally, thread back inside from the center hole. Now, half of the book has a thread on the inside and the outside between each hole.
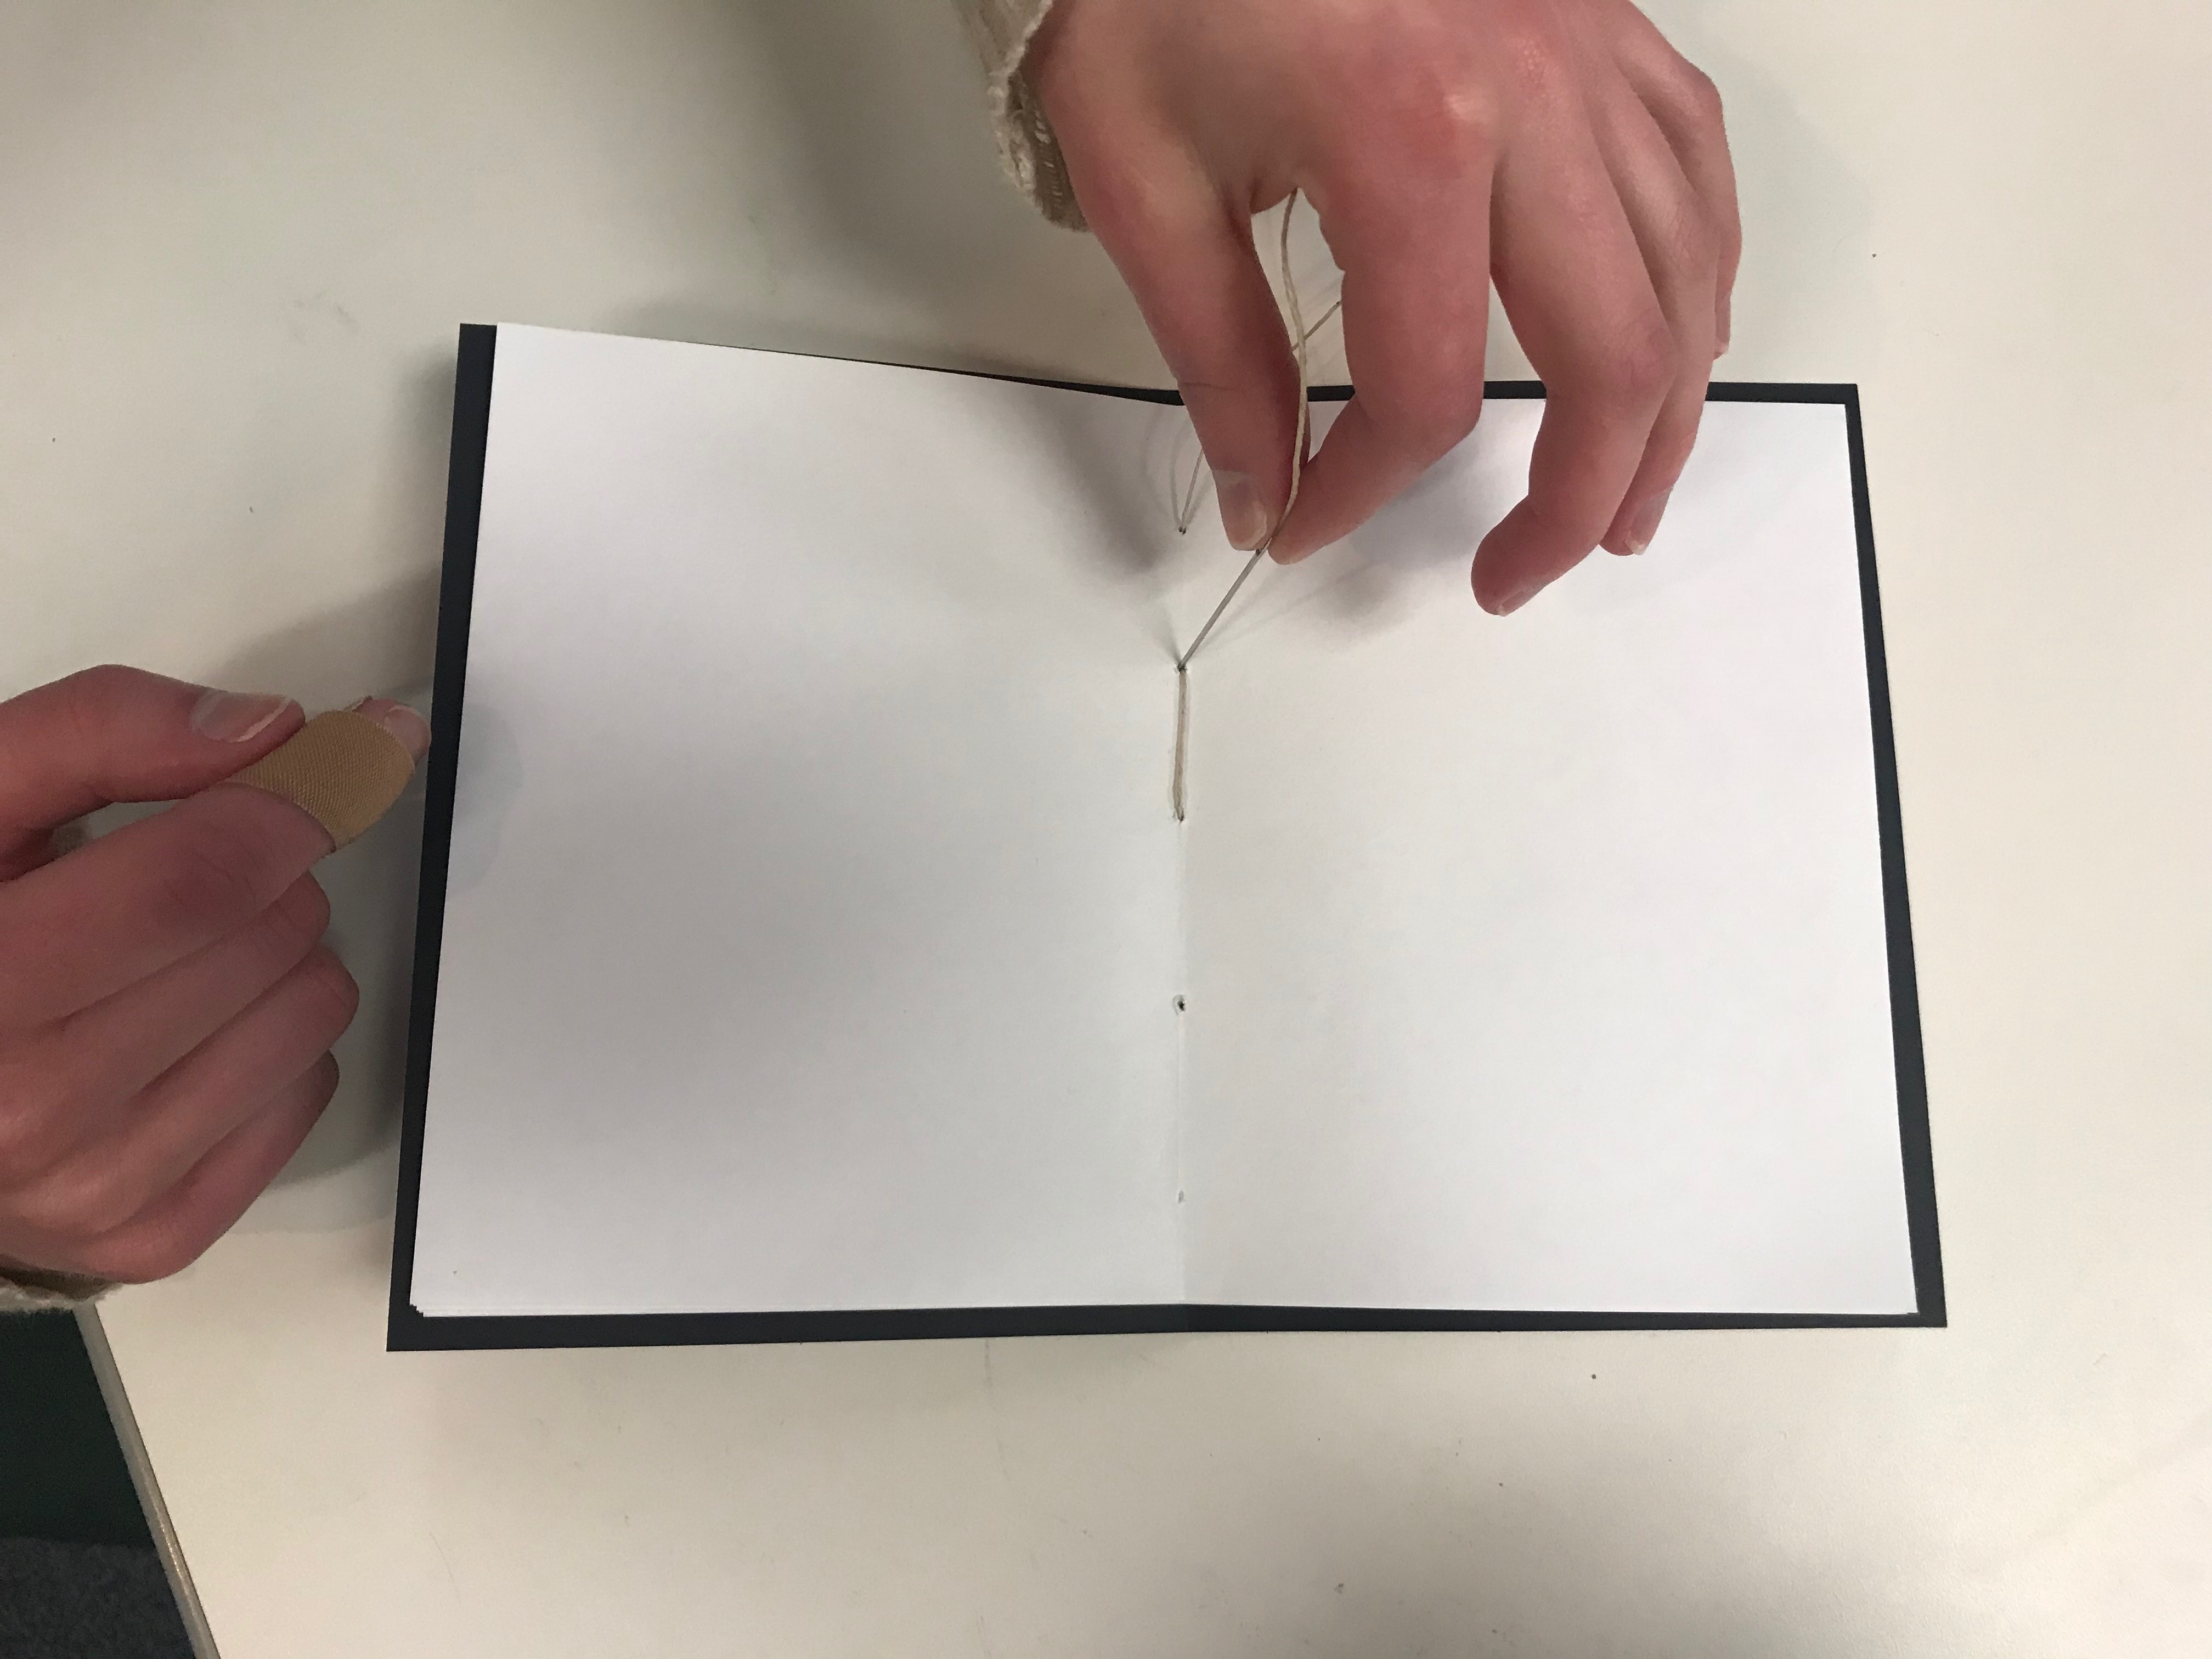
4. Repeat Step 3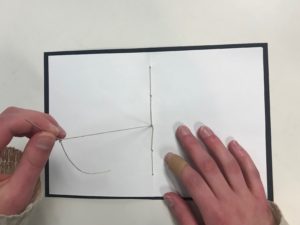

Using the remaining one (if you poked three holes) or two (if you poked five holes) hole(s), repeat Step 3, starting from the closest hole from the center and working your way out. The thread will now have been weaved in-between each hole on the inside and the outside.
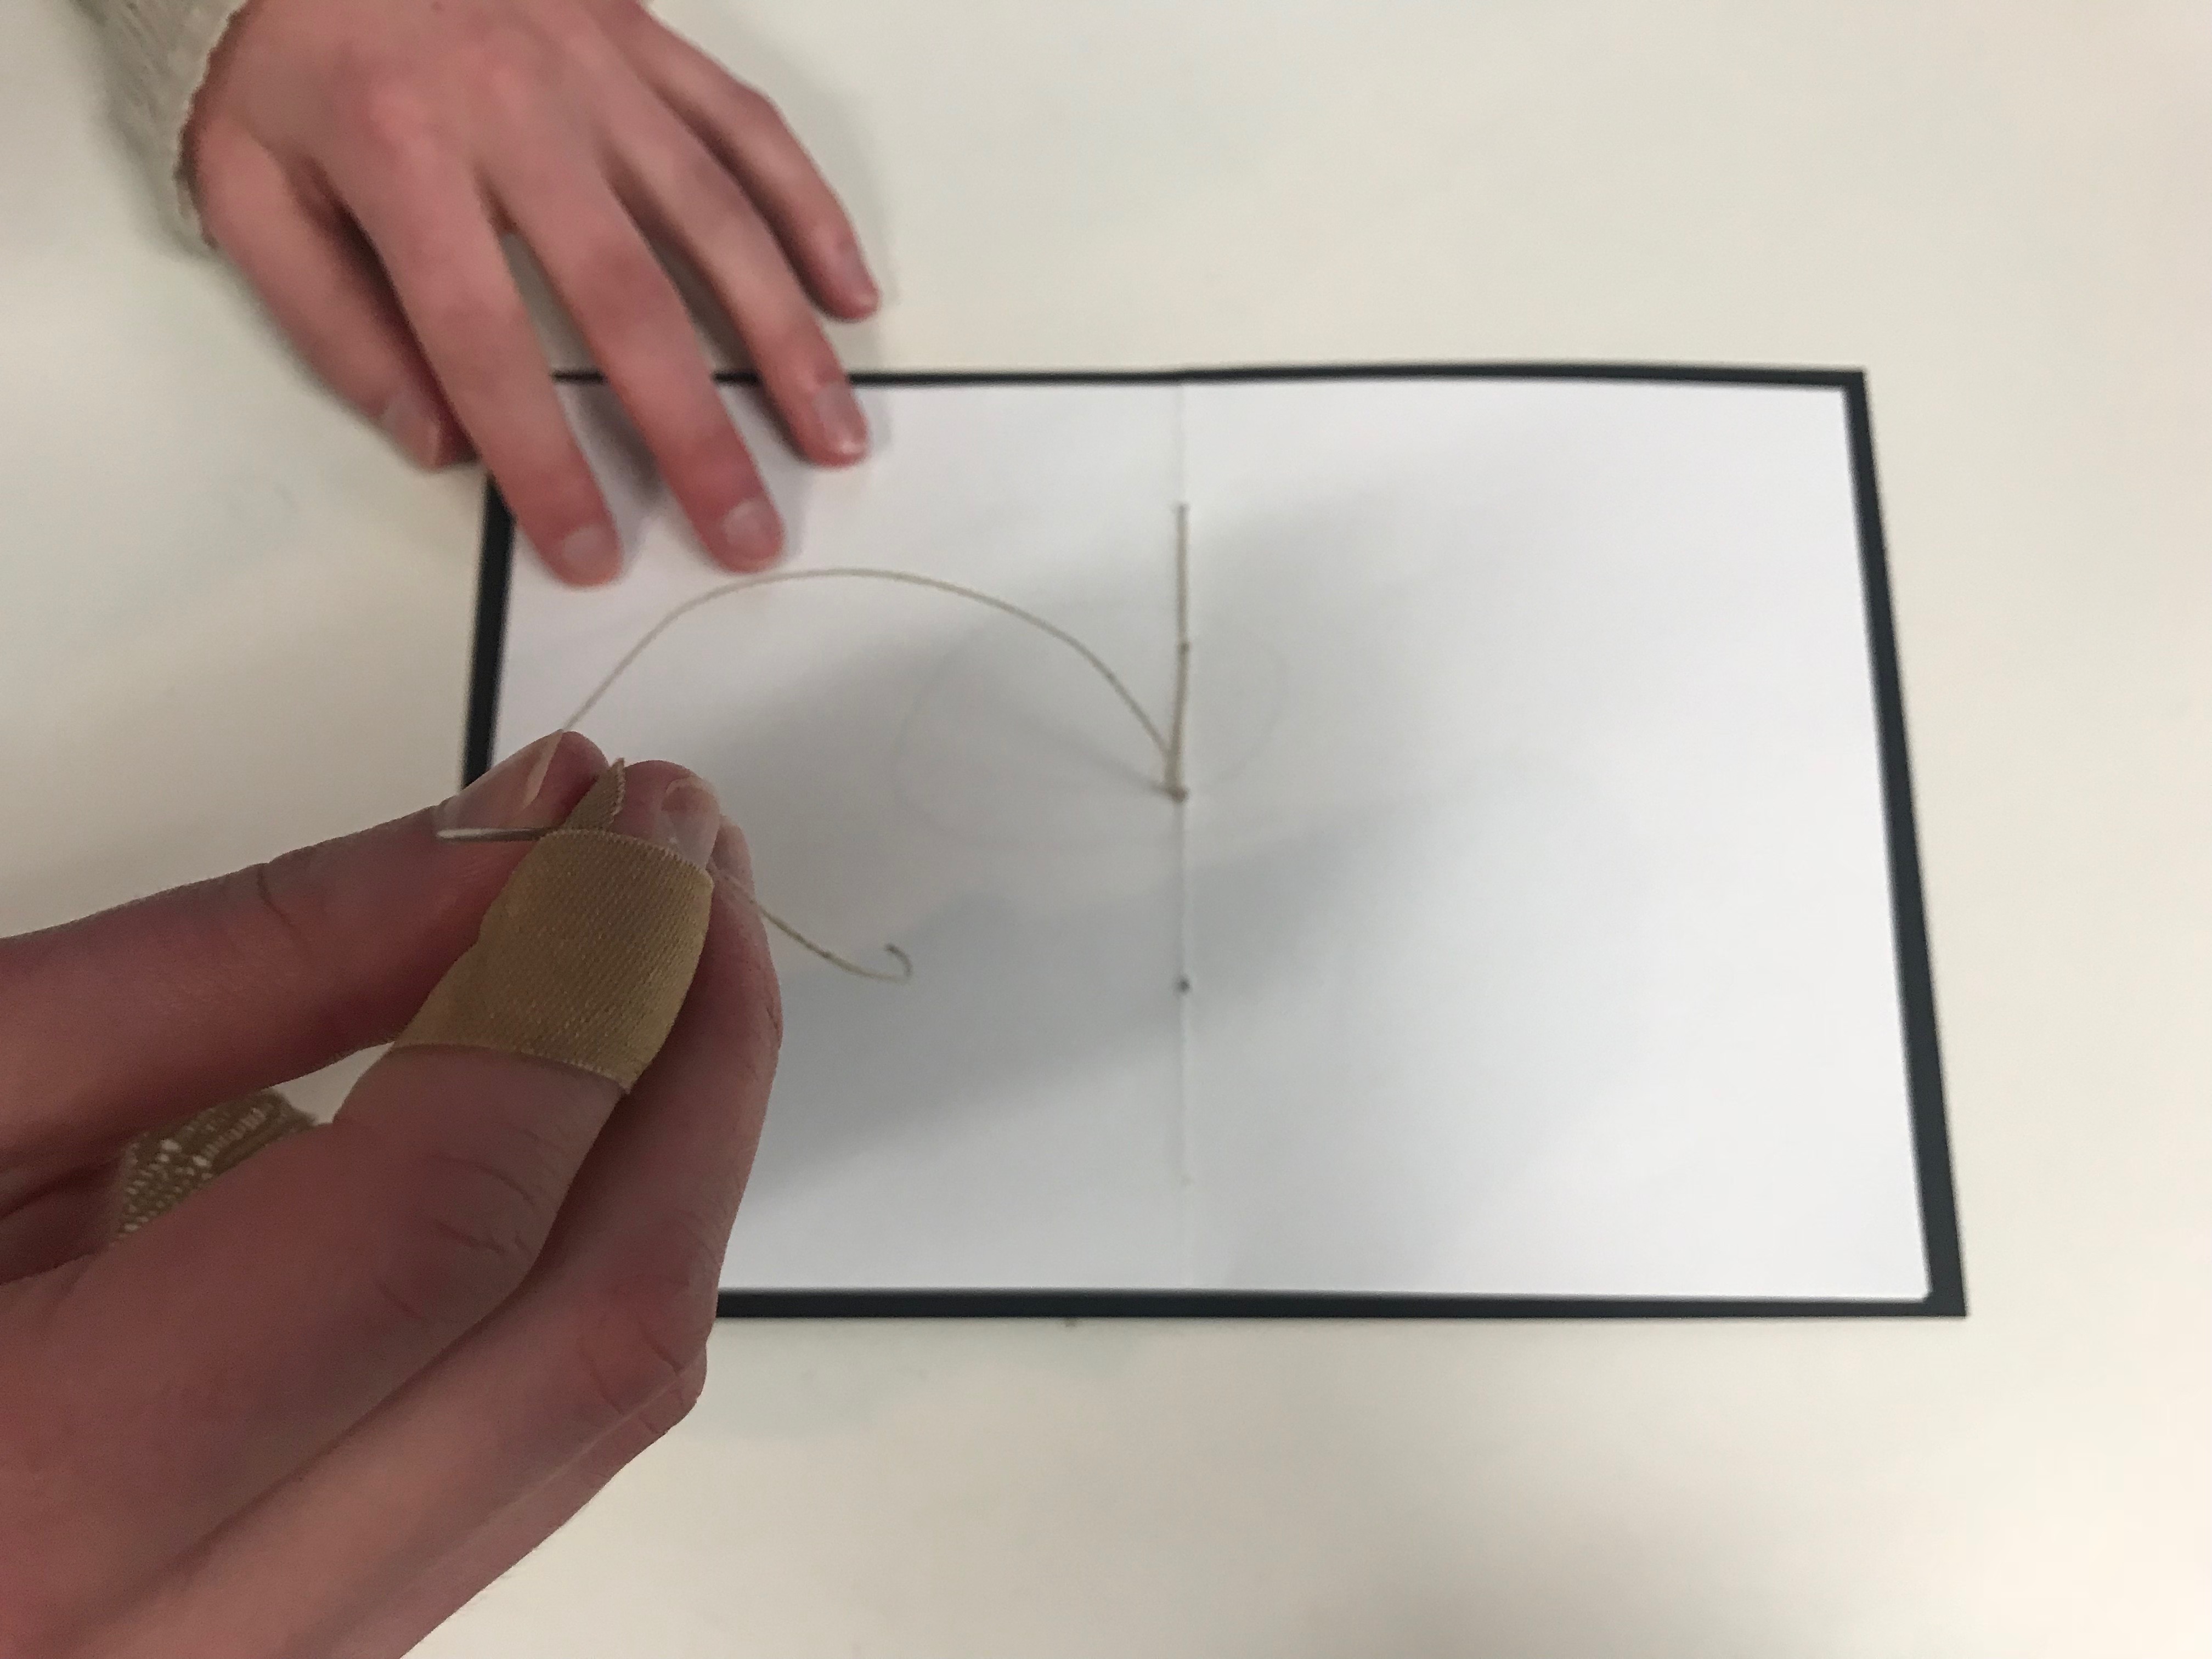
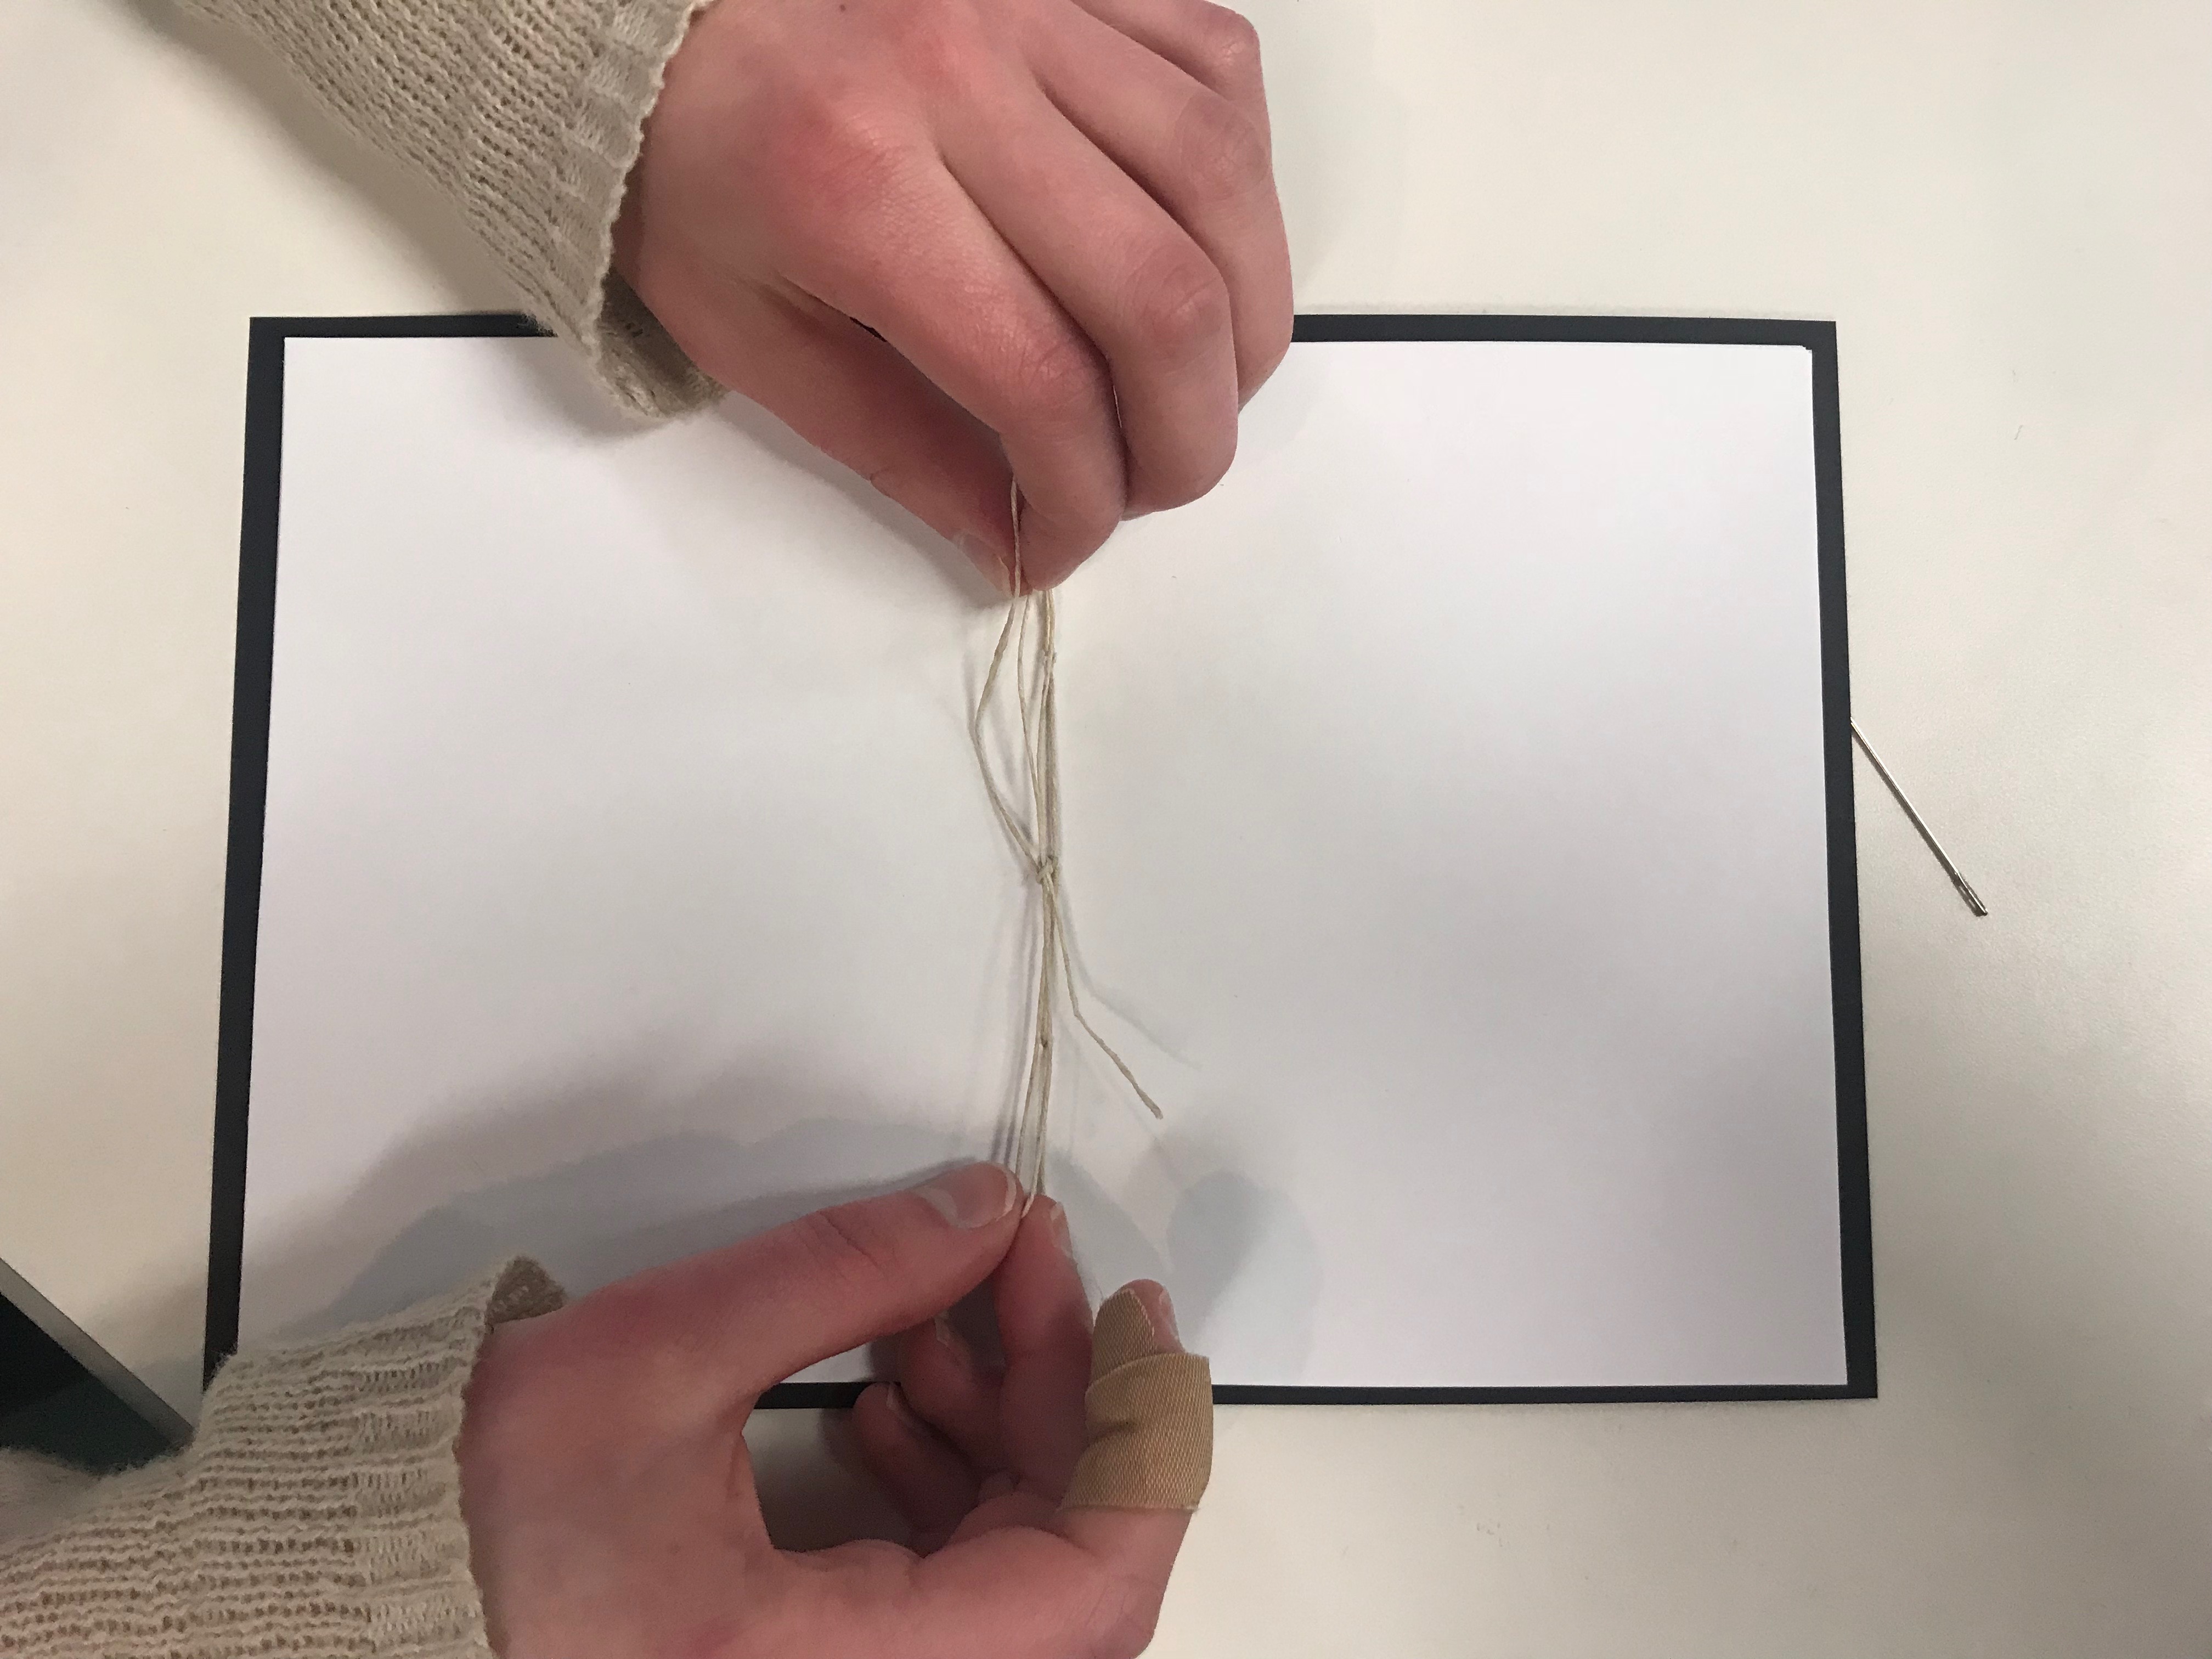
5. Tie and Finish
Now, there should be that few inches of string you left on the outside and then the remainder of the string left on the inside. Un-thread your needle from the piece of string on the inside and instead thread it through the piece on the outside.
“Go back inside through the middle hole so both ends of the string are now on the inside,” explains Stanton. “Then, you can tie a bow or trim the pieces. Whether you start your thread going inside or outside depends on where your bow ends up. Since I threaded from the outside in, my bow ended up on the inside.”
6. Enjoy!
You now have your very own hand-stitched book! You can use it for journaling, scrapbooking, notetaking or whatever you want. Enjoy your masterpiece!