Have you ever wanted to pick up a hobby but just didn’t know where to start? For people who enjoy making things or just working with their hands, building birdhouses can be an enjoyable and relaxing hobby. The Scoop spoke with James Shepard, who has built birdhouses for 20 years.
1. Gather Your Materials
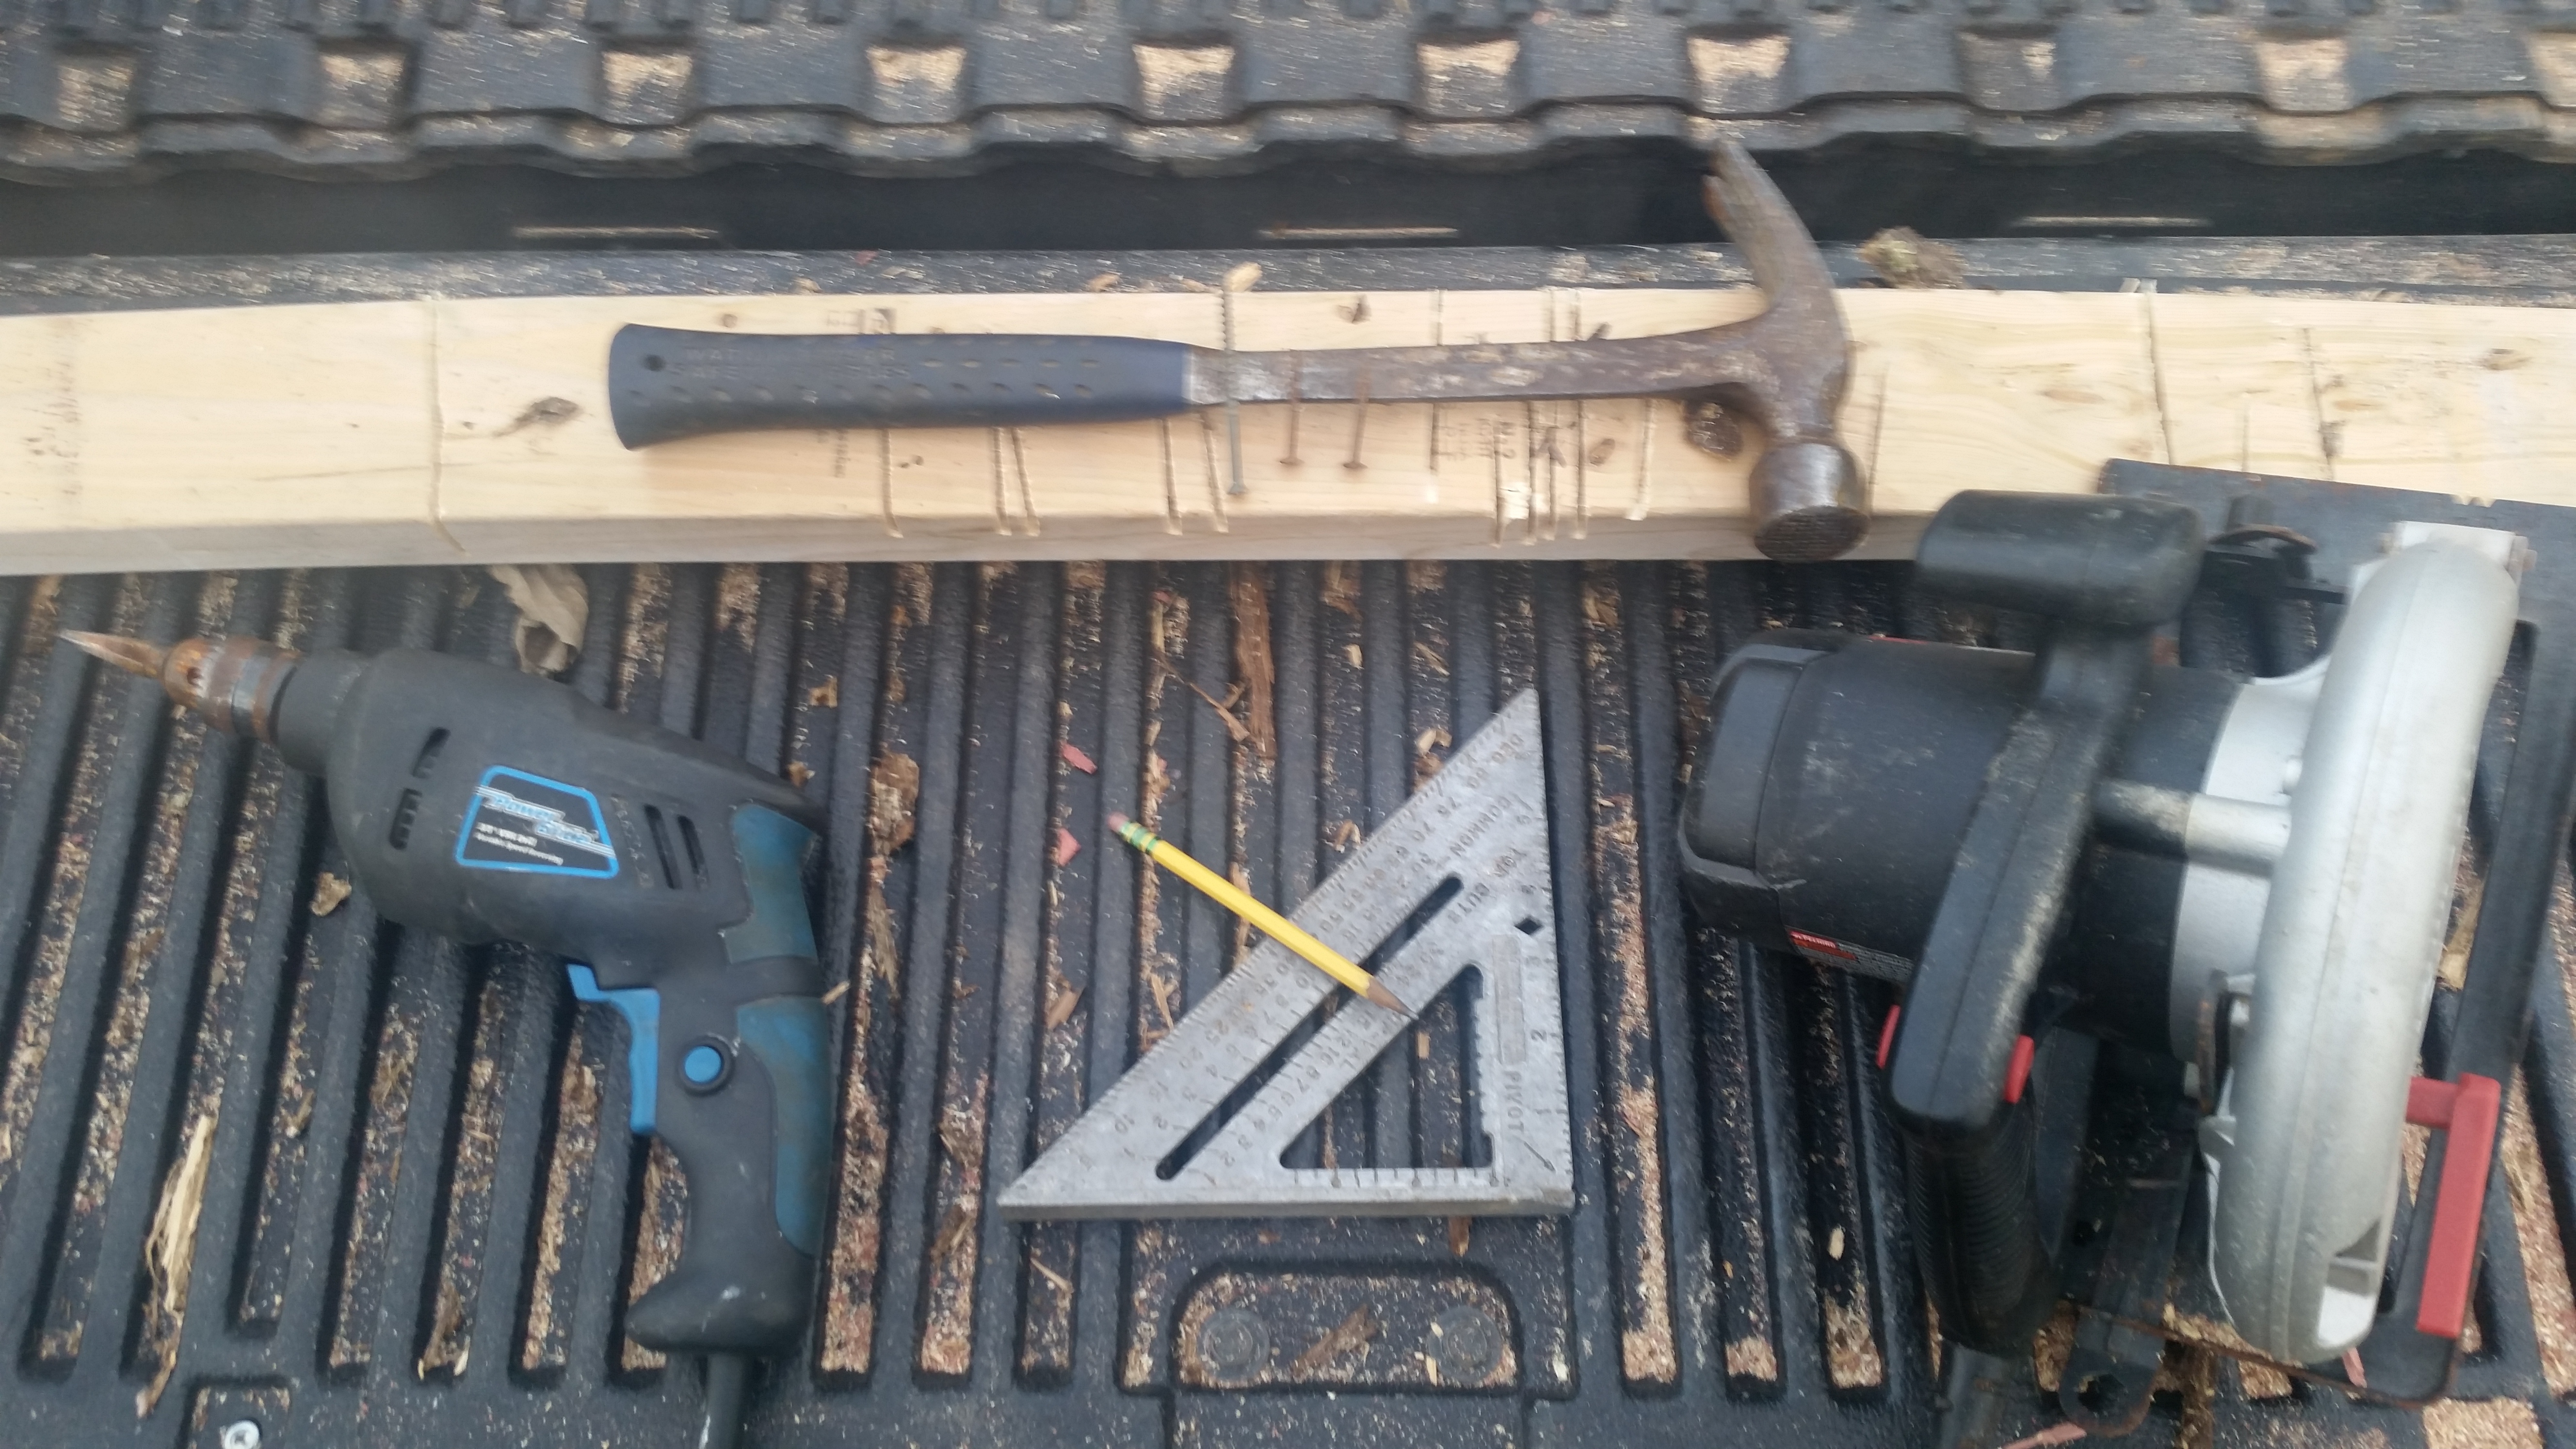
The first thing you want to do is get all the materials together you’ll need for your project.
- A hammer and some nails
- A saw
- A triangle/measuring tape
- A drill
- A pencil
- A few inches of copper wire
- Glue
- Plenty of scrap
For the purpose of this project, the birdhouse will be made out of cedar scraps. “Other peoples’ scrap makes the best birdhouses,” says Shepard. It’s also advised that you read the manuals of any power tools before using them.
2. Measure and Cut Your Wood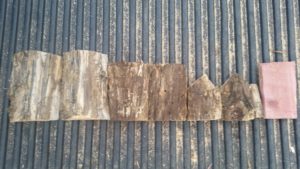
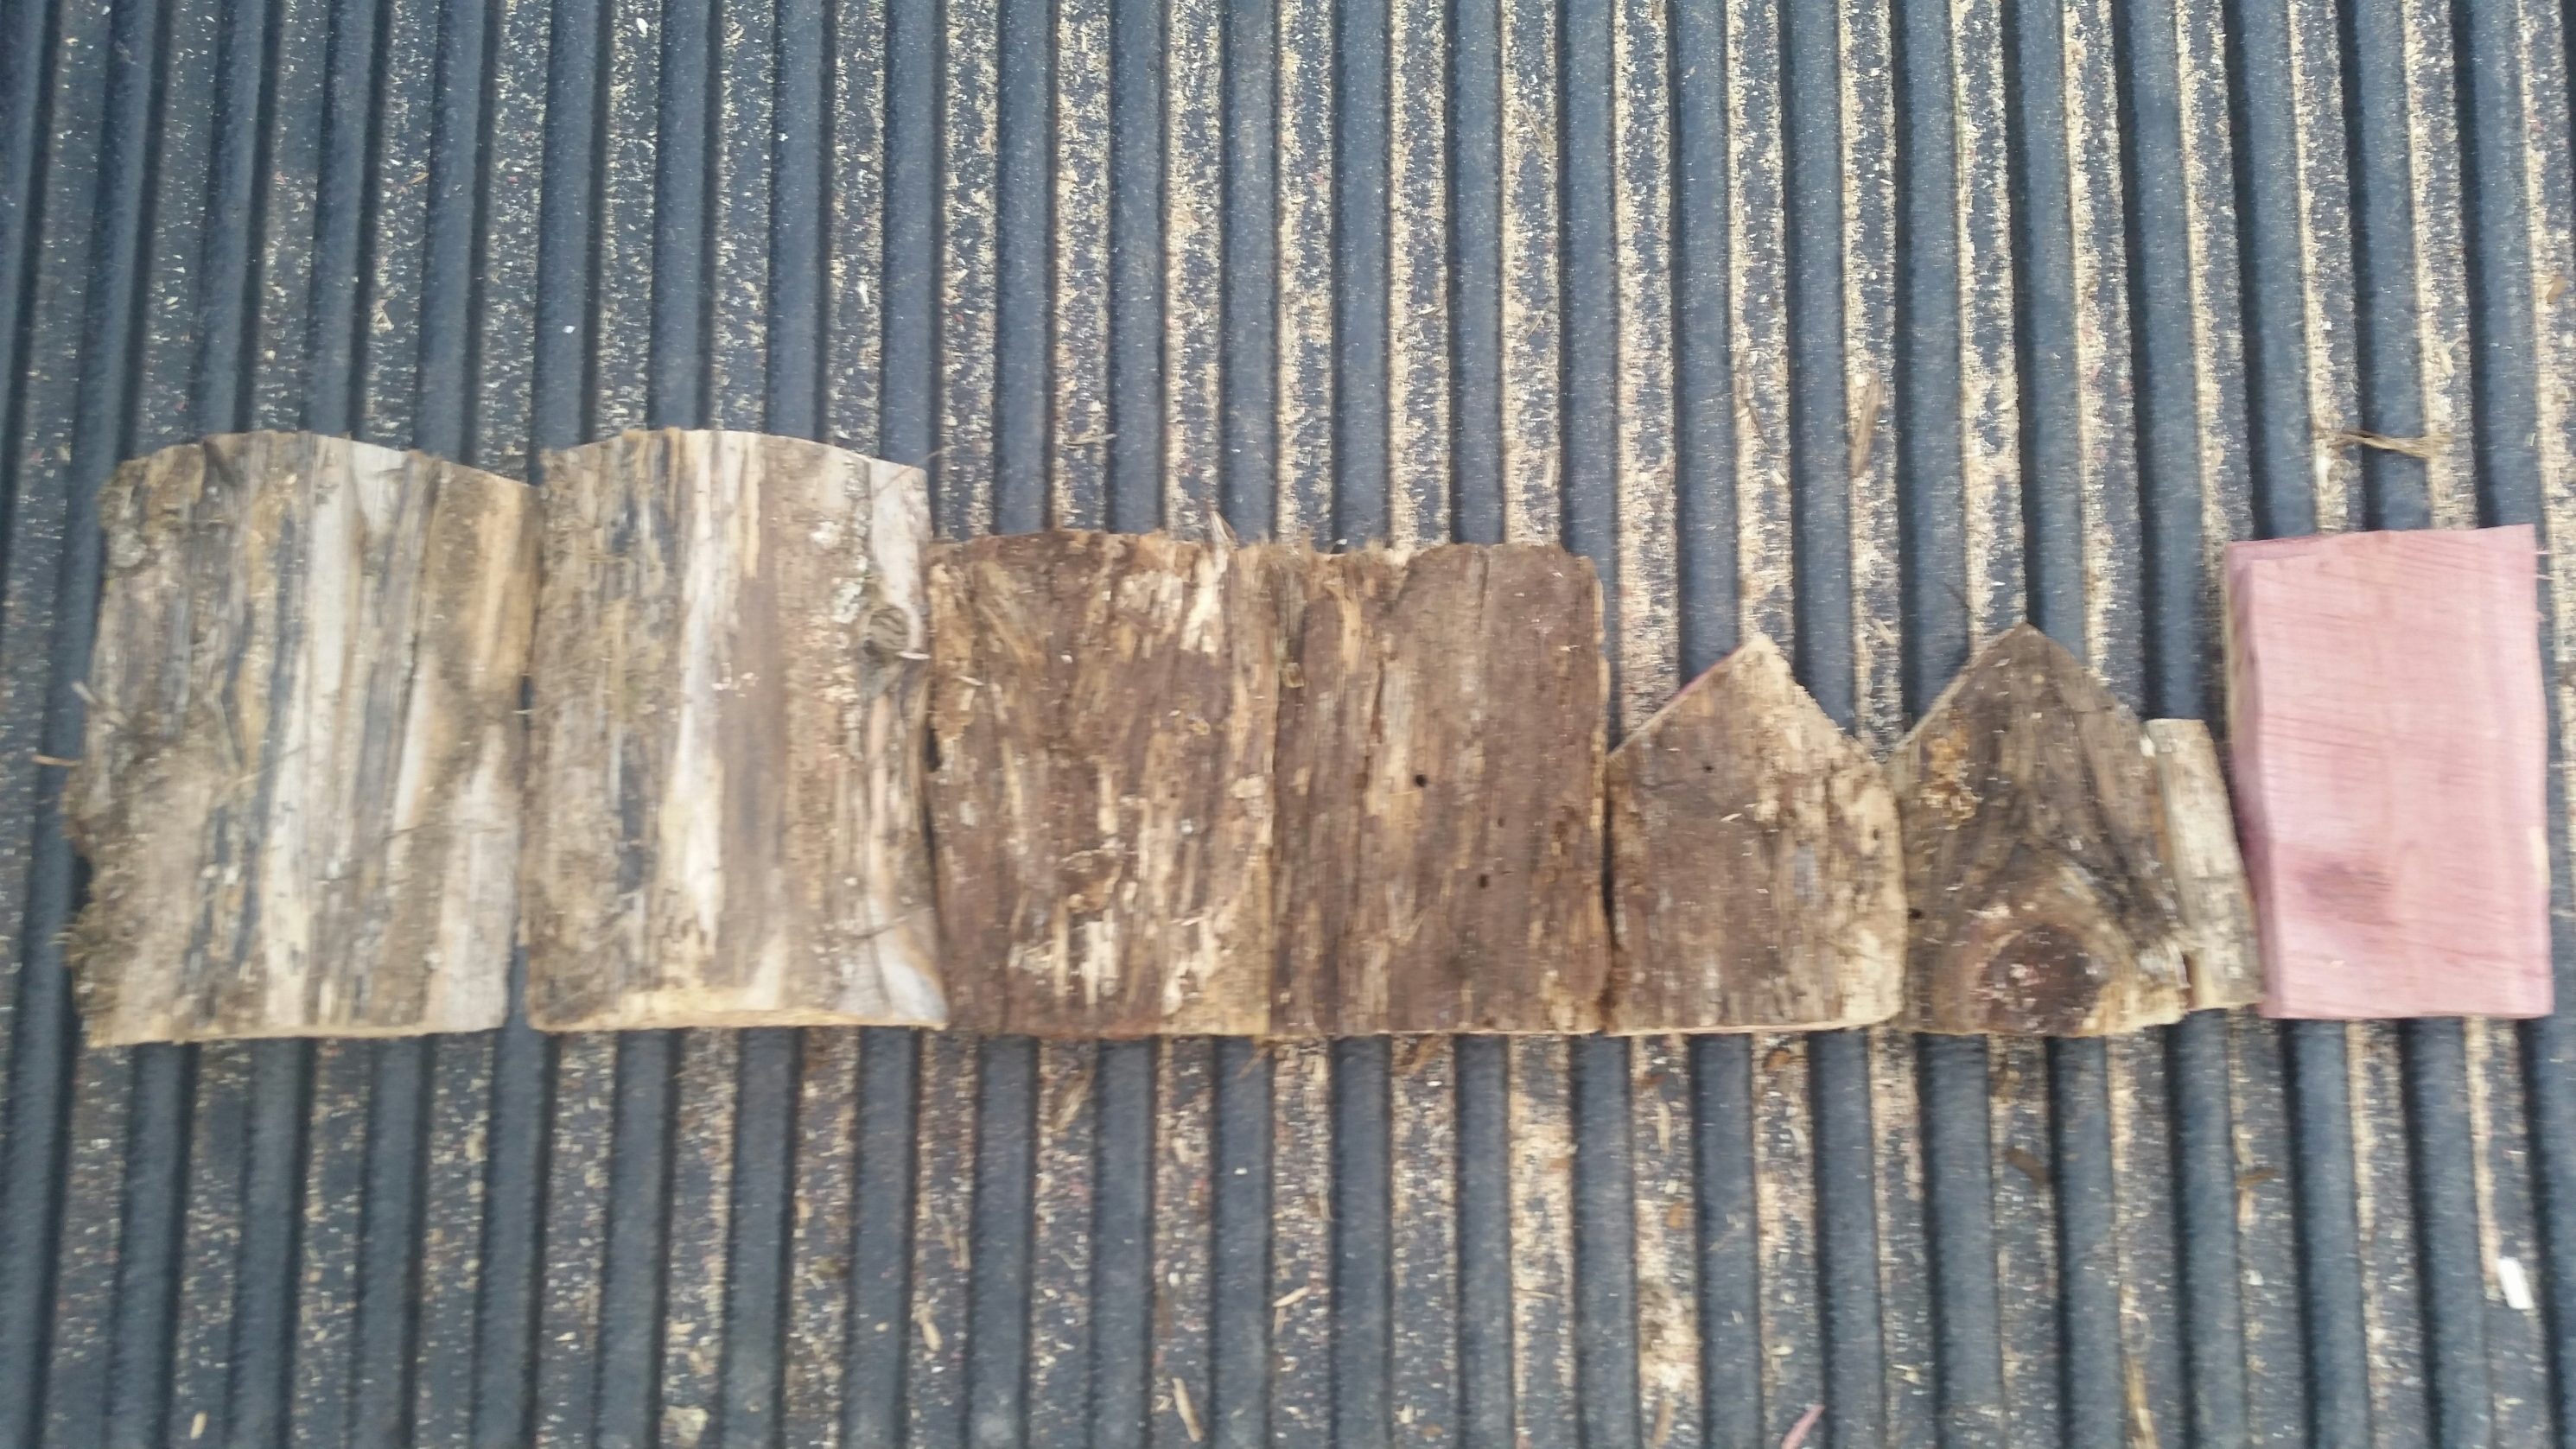
After getting together all of your materials, you’ll want to be sure to use the triangle and pencil to mark the cuts for each piece. Be sure to double-check your measurements before you cut. You should have seven pieces total of the following measurements:
- The 2 wall pieces – 5 x 3 1/2 inches
- The 2 roof pieces – 6 x 3 1/2 inches
- The front and back pieces – 3 x 4 inches
- The bottom piece – 3 x 5 inches
When cutting the pieces for the front and back of the birdhouse, cut two slants at 30 degree angles on one of the thinner ends of each “so the roof will have a pitch,” says Shepard. Remember to drill a one and a half-inch hole in the front piece for the birds to enter and exit. You could also drill a hole about the size of a pencil halfway into your front piece, if you want to add a perch to your birdhouse.
3. Put Up Your Walls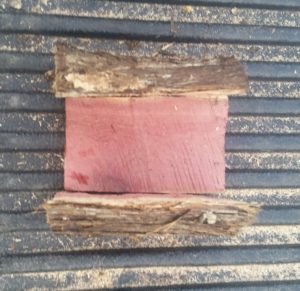
After cutting your wood to length, begin construction by placing your two wall pieces on either of the long sides of the bottom piece. Secure them in place with two nails on each side, one in each corner.
4. Add The Front and Back
After making sure your walls are securely attached to your base, place your front and back pieces between your walls. Try to keep as little space as possible between the front and back pieces and the walls and nail them into place.
5. Put On A Roof
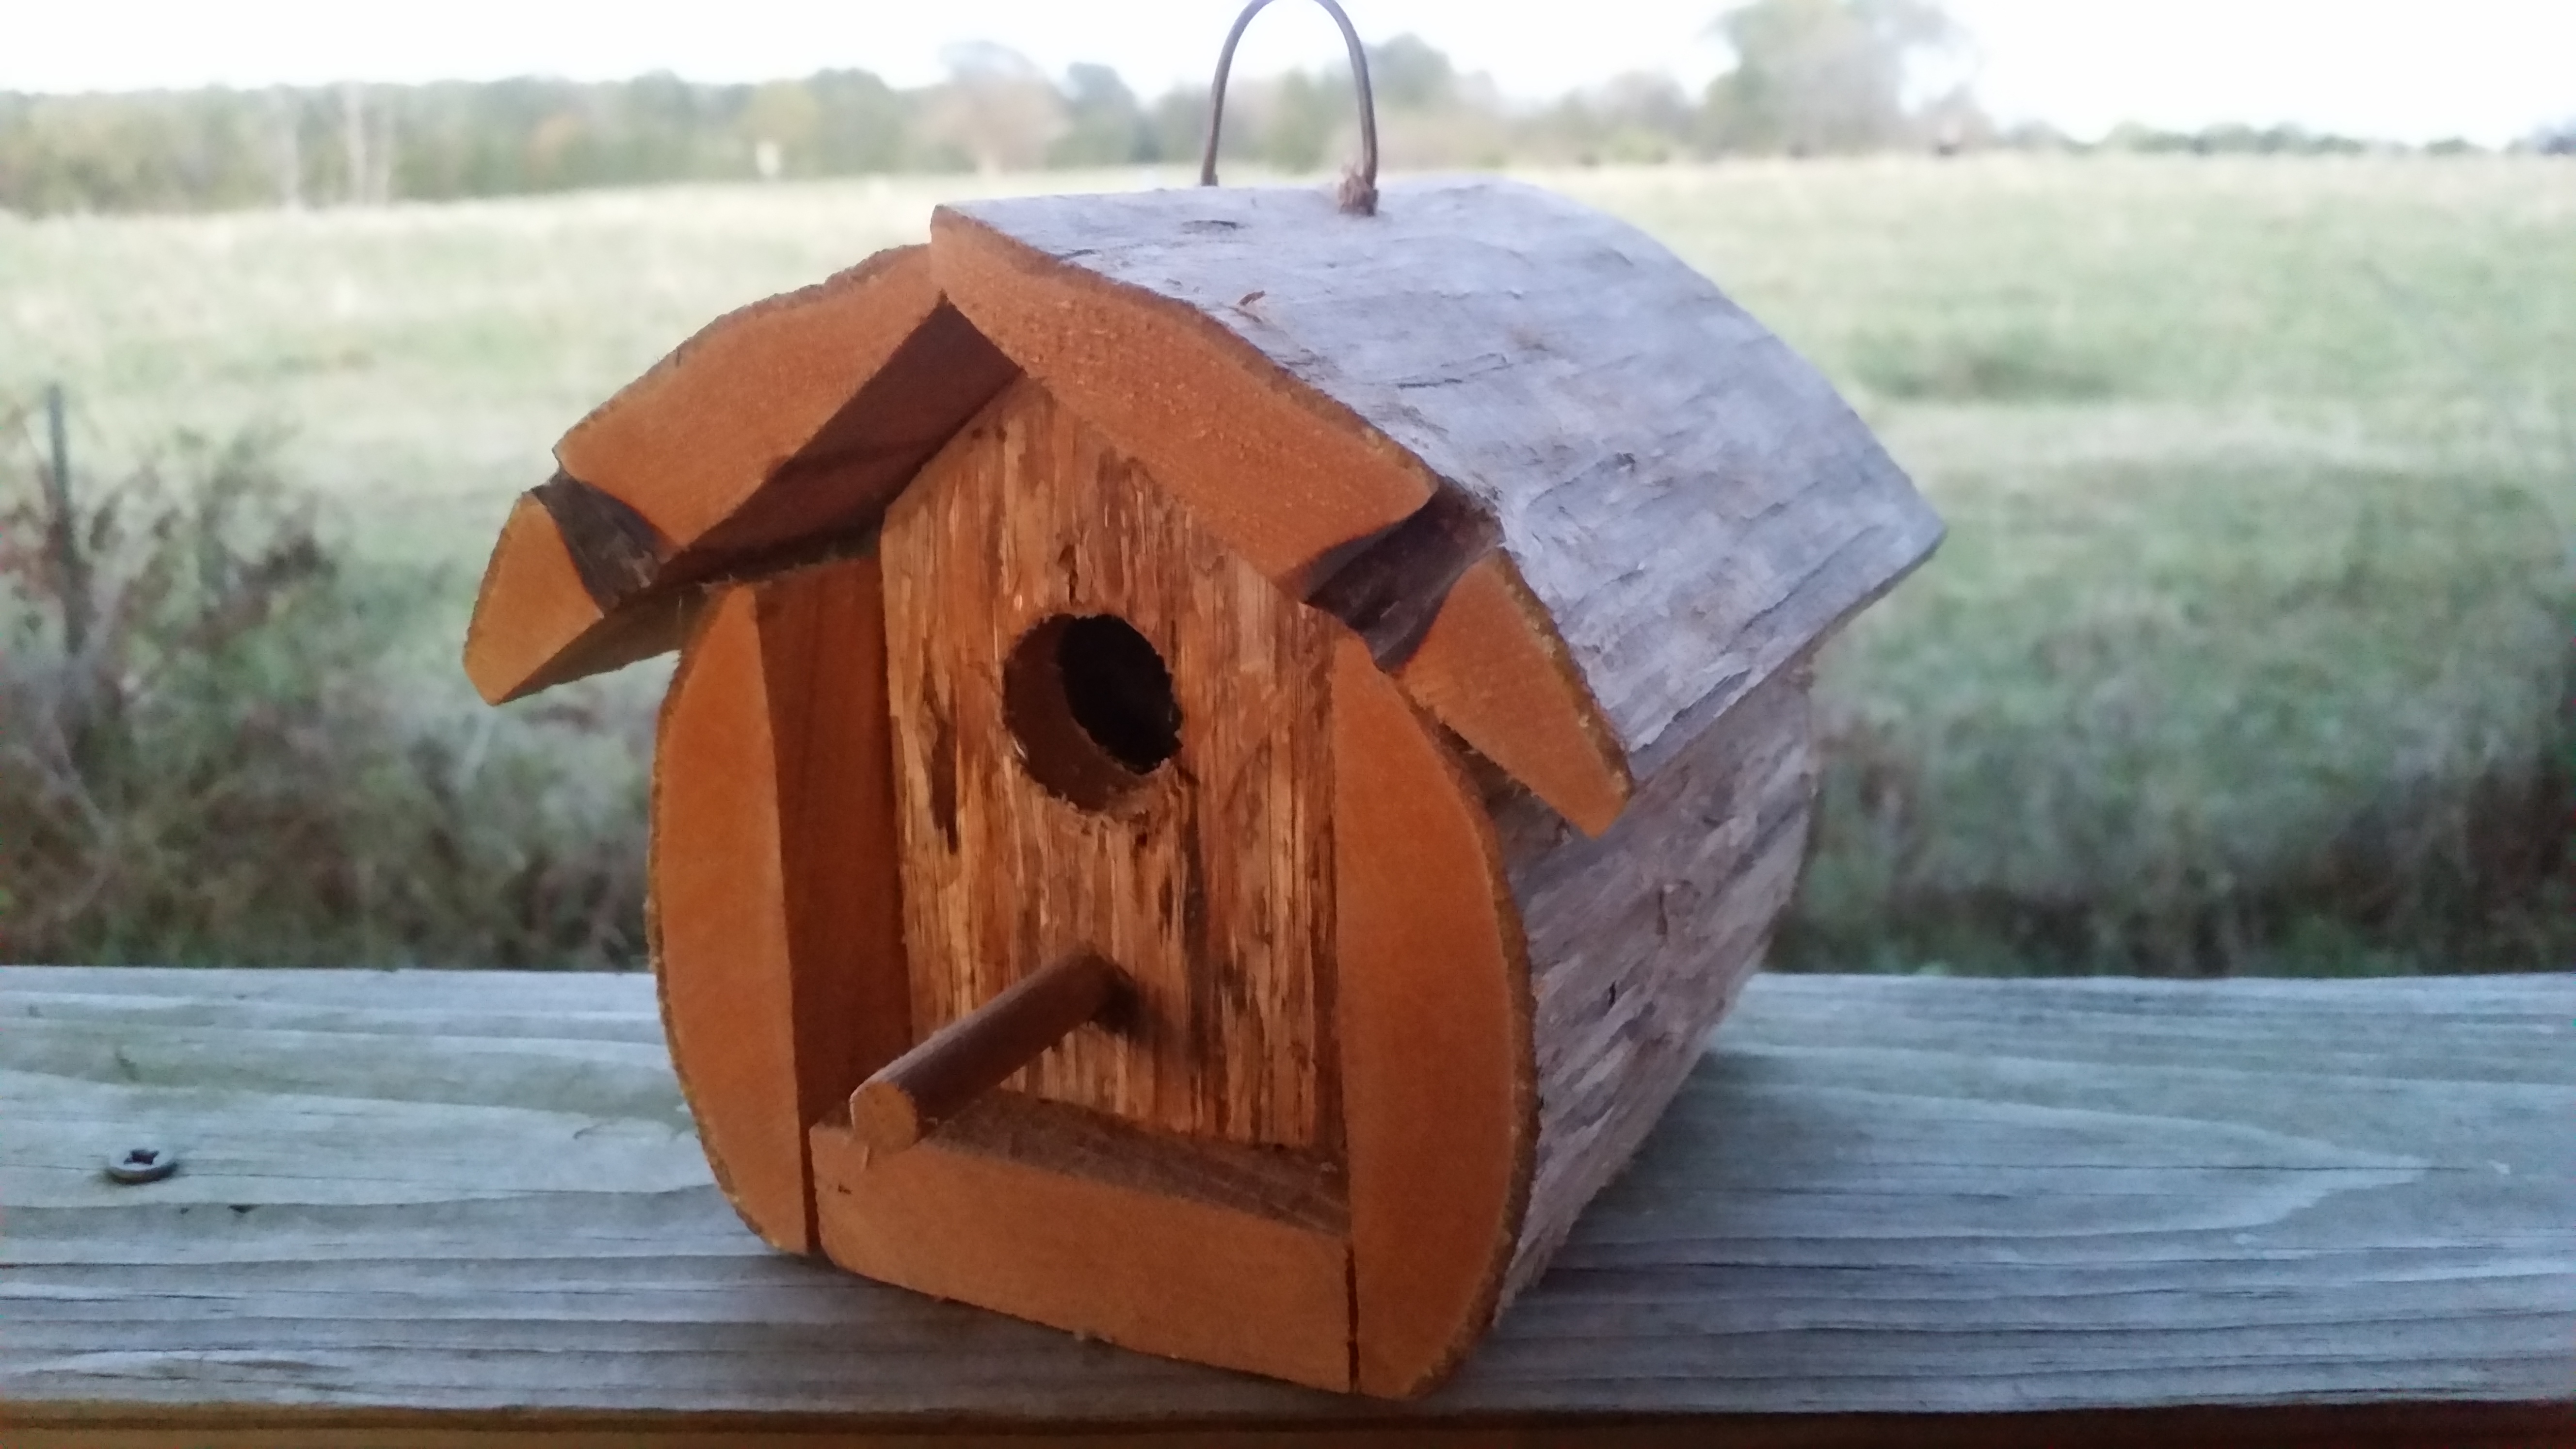
Once you’ve finished with the front and back, move on to the roof. Set each piece flush with the slants of the front and back pieces and nail them into place. If you’ve done it right, the roof should extend slightly over the rest of the house on every side. This will help ensure that any residents of the birdhouse don’t get drenched when it rains.
6. Finish Up

Now that the bulk of the house is complete, all that’s left is the detail work. Make a loop with your copper wire and attach it to your roof to make a hanger. You can do this however you like, so long as you’re confident that it will support the weight of your birdhouse. If you’ve decided to add a perch, place a dab of glue in the hole, place your perch into it and hold it in place until the glue sets. That’s it! You’ve officially finished your homemade birdhouse.