Located on historic C- Street, Creative Escape Glass is a small fused glass studio in Springfield that’s home to lots of creativity and loyal customers. Owner Rebekah Santiago, a passionate fuser, moved to the Ozarks in May from New Mexico to open the studio.
Santiago and her husband, Rafael, discovered a fused glass studio about an hour from their previous home, and every time they went to pick up a piece, they created another. For months, they repeated this routine, until eventually they built a studio in their backyard. They finally decided to expand and share their passion with others in Springfield.
They use Creative Escape as their personal studio as well, and they sell some of their pieces in the store.
Santiago offered The Scoop a step-by-step process for creating a fused glass piece.
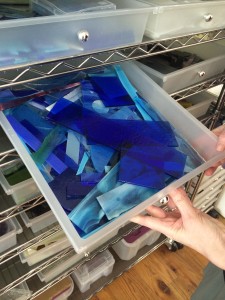
1. Start with a base
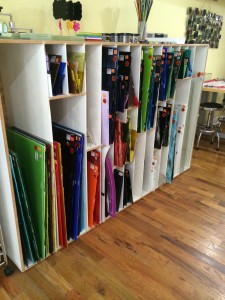
You can choose whatever size you like, or you can choose a size to fit one of the store’s many molds. You need two 3-millimeter thick pieces for your base; otherwise, the glass will not be strong enough, and unwanted bubbles will appear in your piece. These two base pieces can both be clear, or you may choose one clear and one colored if you want a background color.
![IMG_6928[1]](http://www.springvegasscoop.com/wp-content/uploads/2015/11/IMG_69281-e1446442541674-225x300.jpg)
2. Decorate your piece
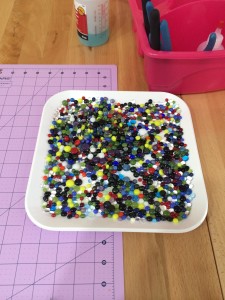
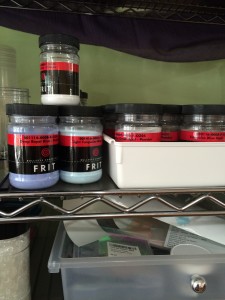
This step is where all your creativity and ideas come together. The shop has a number of different glass forms to decorate with: You can dig into the scrap bins, grab a new sheet for bigger pieces, scatter thinner, broken up glass fragments called confetti, sprinkle ground-up glass in the form of powder, apply glass “beads,” and more.
To decorate your design, you need to be able to cut the glass, which is easier than it sounds. You simply take the cutter and score the glass, making sure to keep it perpendicular to the glass. Then, you use what is called a runner to apply pressure to break the piece off. More experienced fusers can also use one of the three grinders they have in store or the diamond ring cutter for more precise cutting.
![IMG_6958[1]](http://www.springvegasscoop.com/wp-content/uploads/2015/11/IMG_69581-300x225.jpg)
The runner is used to break the piece along the line you scored, or “cut.” This allows you to create the shape you want and keep the lines straight. Just be sure to hold the runner so that it “frowns at you,” and keep it even with the angle of the score line.
3. Clean all your pieces
Once you’ve cut all of your pieces and placed them where you want, you need to clean them. You don’t want any oils or dirt from your hands to be on the glass when it gets cooked. If you prefer, you can clean as you go instead of waiting until the end.
4. Glue the decorations
Once the pieces are clean, you should glue them down, especially the smaller ones, to help prevent the pieces from moving during the kiln process. Don’t worry — the glue won’t show up in the finished product. It burns off in the kiln.
![IMG_6965[1]](http://www.springvegasscoop.com/wp-content/uploads/2015/11/IMG_69651-e1446441563488-225x300.jpg)
5. Choose a mold
After you’ve finished your design, you can choose (or not choose) to use one of the molds they have in store to make your design more decorative or functional.
![IMG_6937[1]](http://www.springvegasscoop.com/wp-content/uploads/2015/11/IMG_69371.jpg)
![IMG_6939[1]](http://www.springvegasscoop.com/wp-content/uploads/2015/11/IMG_69391.jpg)
6. Cook the piece
After gluing, your job is done. It then gets placed in the kiln, which is basically a giant oven. It goes up to 1,465 degrees Fahrenheit to fuse all the glass together and takes about 24 hours because it goes through a few rounds of cooking. It has to cook and cool once first, so it can be placed in a mold. It is then recooked in the mold.
![IMG_6954[1]](http://www.springvegasscoop.com/wp-content/uploads/2015/11/IMG_69541.jpg)
7. Come back to pick up your piece.
It won’t be placed in the kiln right away, especially if business is booming that week. A week is typically the turnaround time.
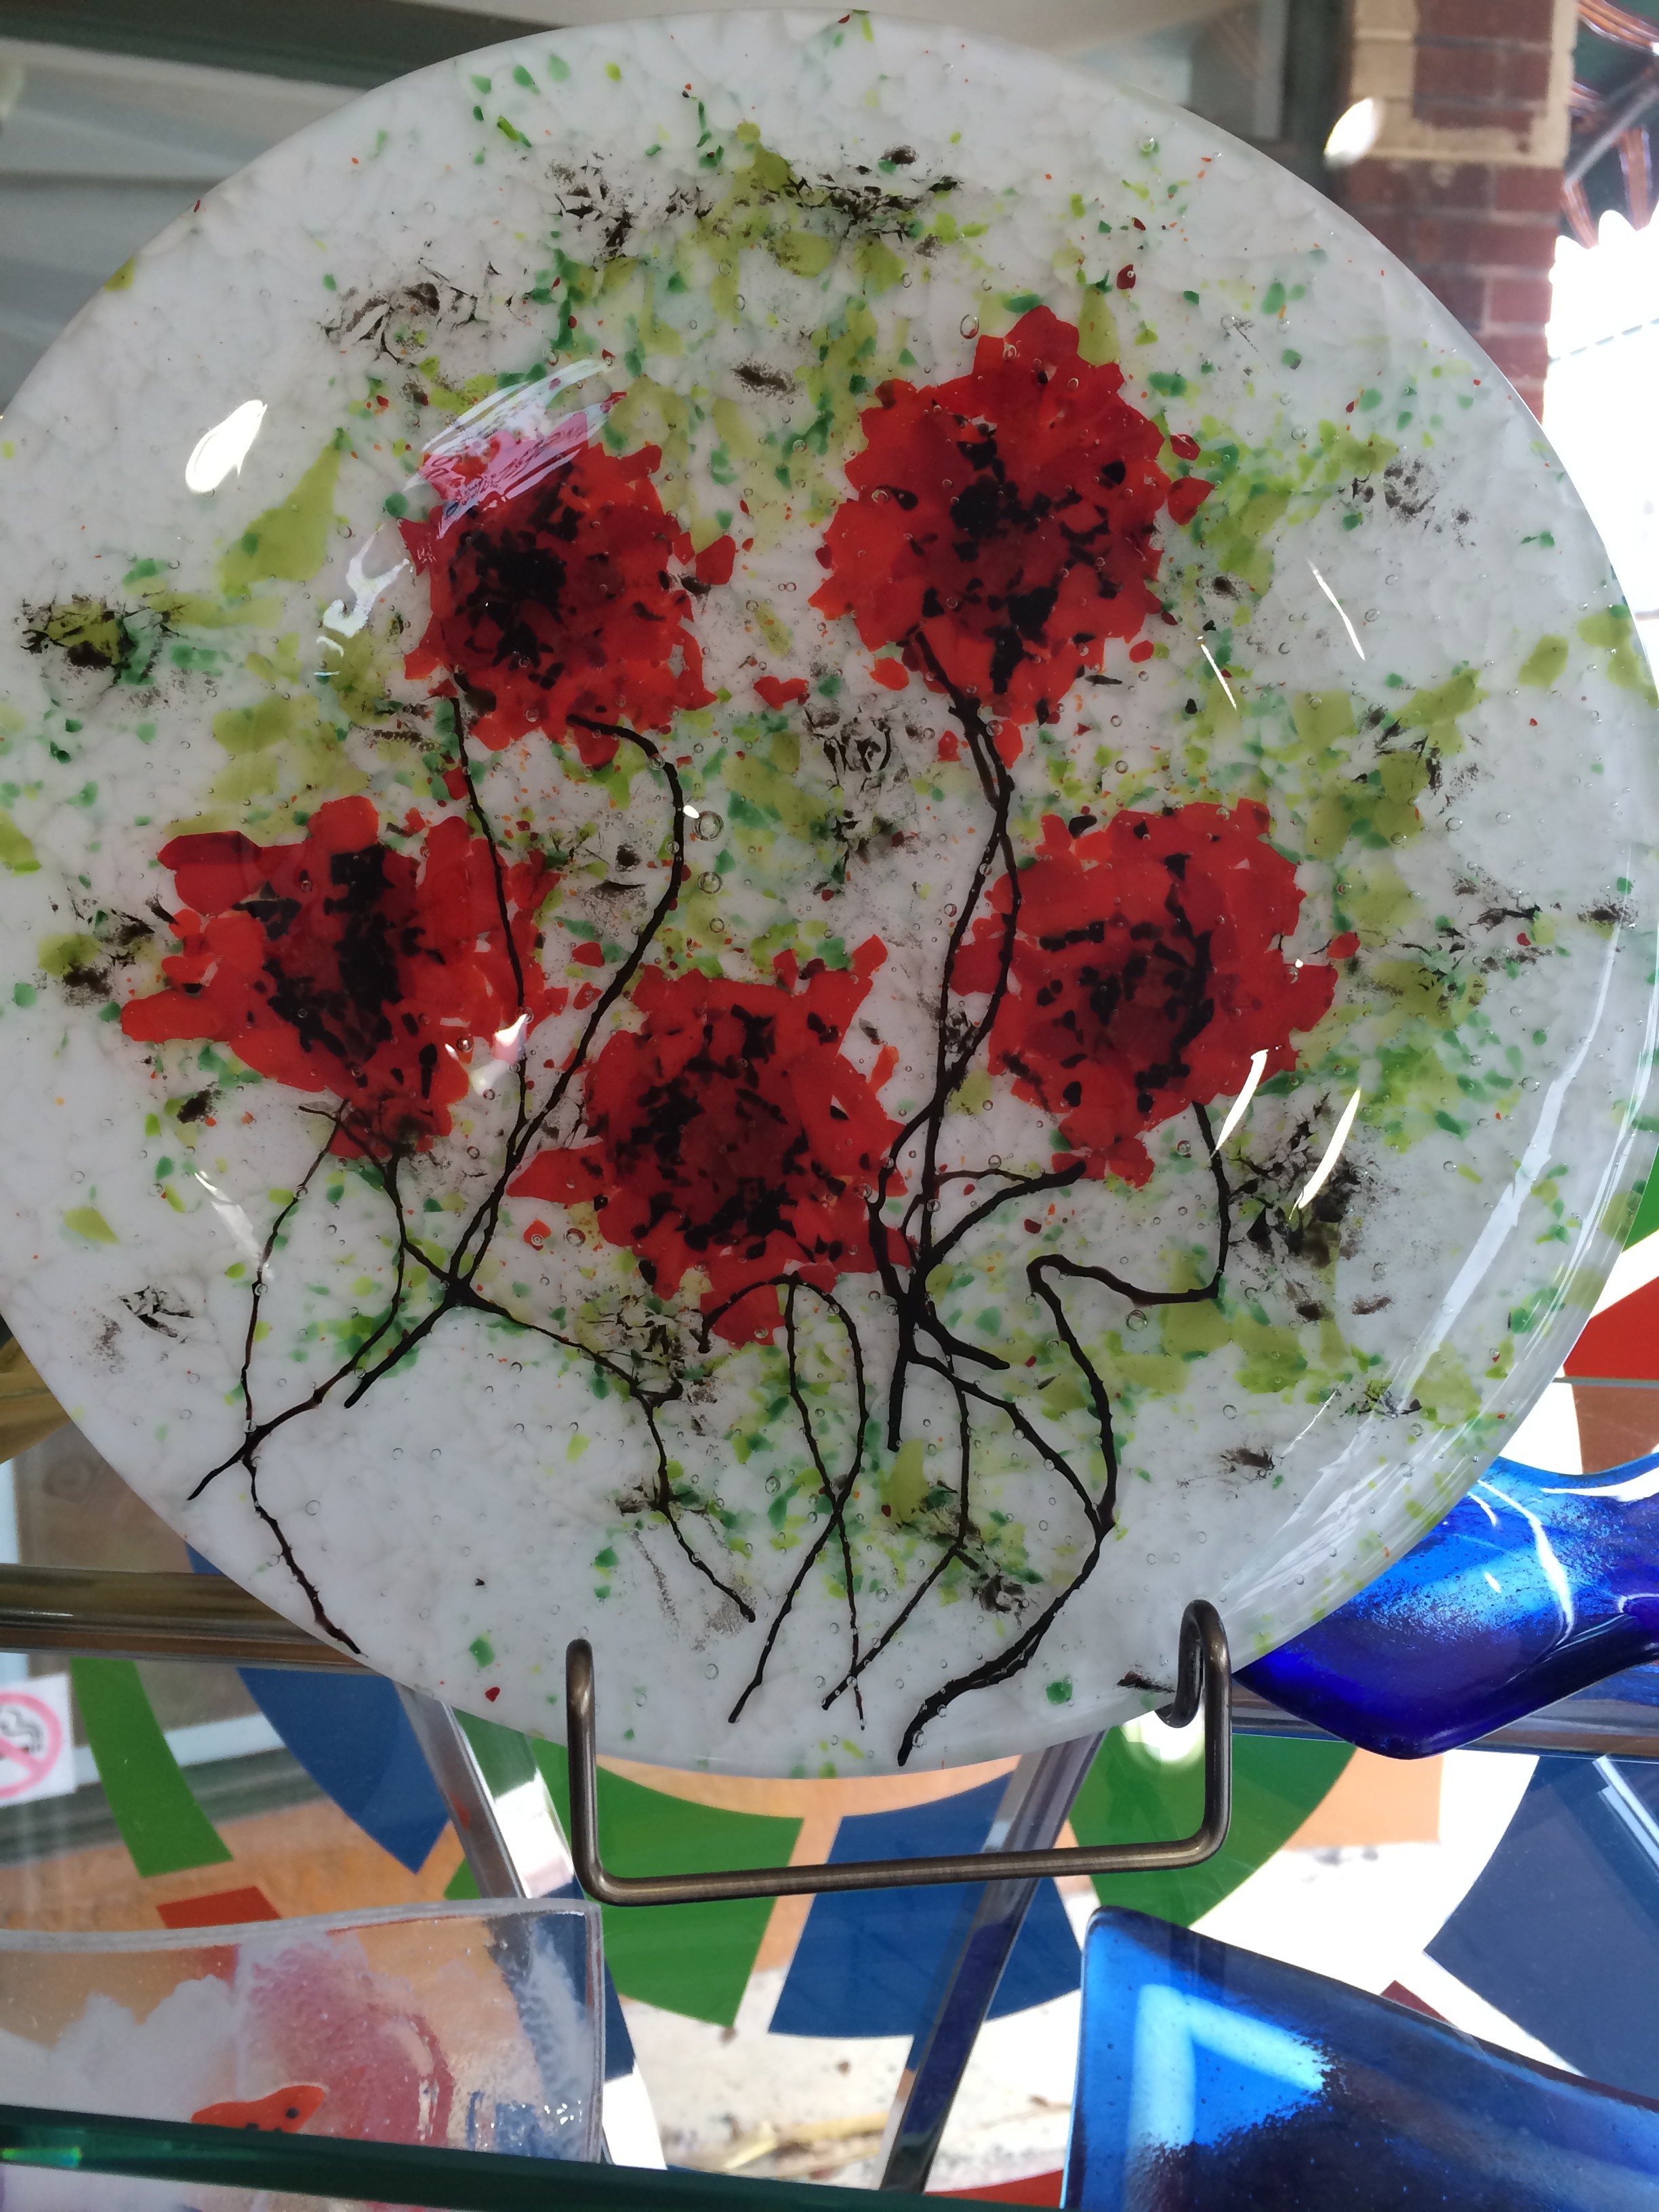
8. Use and enjoy
What’s great about most of the pieces that you make at Creative Escape is they are functional. You can use them as plates or serving dishes, or you can use them simply as decoration if you choose.
The studio has open hours from 11 a.m. to 6 p.m. Wednesdays through Fridays, and 10 a.m. to 4 p.m. Saturdays. Or schedule an appointment by calling the studio at (417) 693-4991. They also offer classes for all ages.